WordPress lets you register custom templates in theme.json. More specifically, you can register single post, page, or CPT (custom post type) templates via the customTemplates property.
It’s important to make the distinction that these templates are meant for single post/page/CPT templates and not for other types of templates. When registering these templates, your theme users can select them from the edit post screen, and their post’s design will match the template on the front end of the site.
Custom templates give you a lot of flexibility in designing variations on your default post or page templates. For example, you could create a blank post template that only shows the content, design a page template with a sidebar, or even one that has no sidebars at all. Really, it depends on what your goals are for your theme project.
This documentation is to teach you how to register custom templates via theme.json. For a more extensive look into how to build custom templates, check out the Templates documentation.
Adding custom templates
You can register custom templates via the customTemplates property in theme.json. It accepts an array of template objects, each defining an individual template.
Each object passed to the customTemplates array supports these properties:
name: The name of your template file without the file extension.title: A human-readable title for your template, which may be translated.postTypes: An array of post type slugs that the template is usable on. This is an optional setting and defaults to thepagepost type.
For block themes, WordPress will look for custom templates (all templates, actually) in the theme’s /templates folder. Therefore, if you register a template with the name of example, you must also have an /templates/example.html file in your theme.
You can add as many custom templates as you want to your theme. Just keep in mind the usability aspect of offering too many choices.
Registering a template
Suppose you wanted to create a template named Content Canvas for both pages and posts. This template will only show the site header, post/page content, and site footer. Your users can select it when they need the full content area to behave as a sort of blank canvas.
The first step you’d take is to create a /templates/content-canvas.html file in your theme. Don’t worry about adding anything to it yet; just leave it empty for the moment.
Now register this template in theme.json, as shown below:
{
	"version": 2,
	"customTemplates": [
		{
			"name": "content-canvas",
			"title": "Content Canvas",
			"postTypes": [
				"page",
				"post"
			]
		}
	]
}
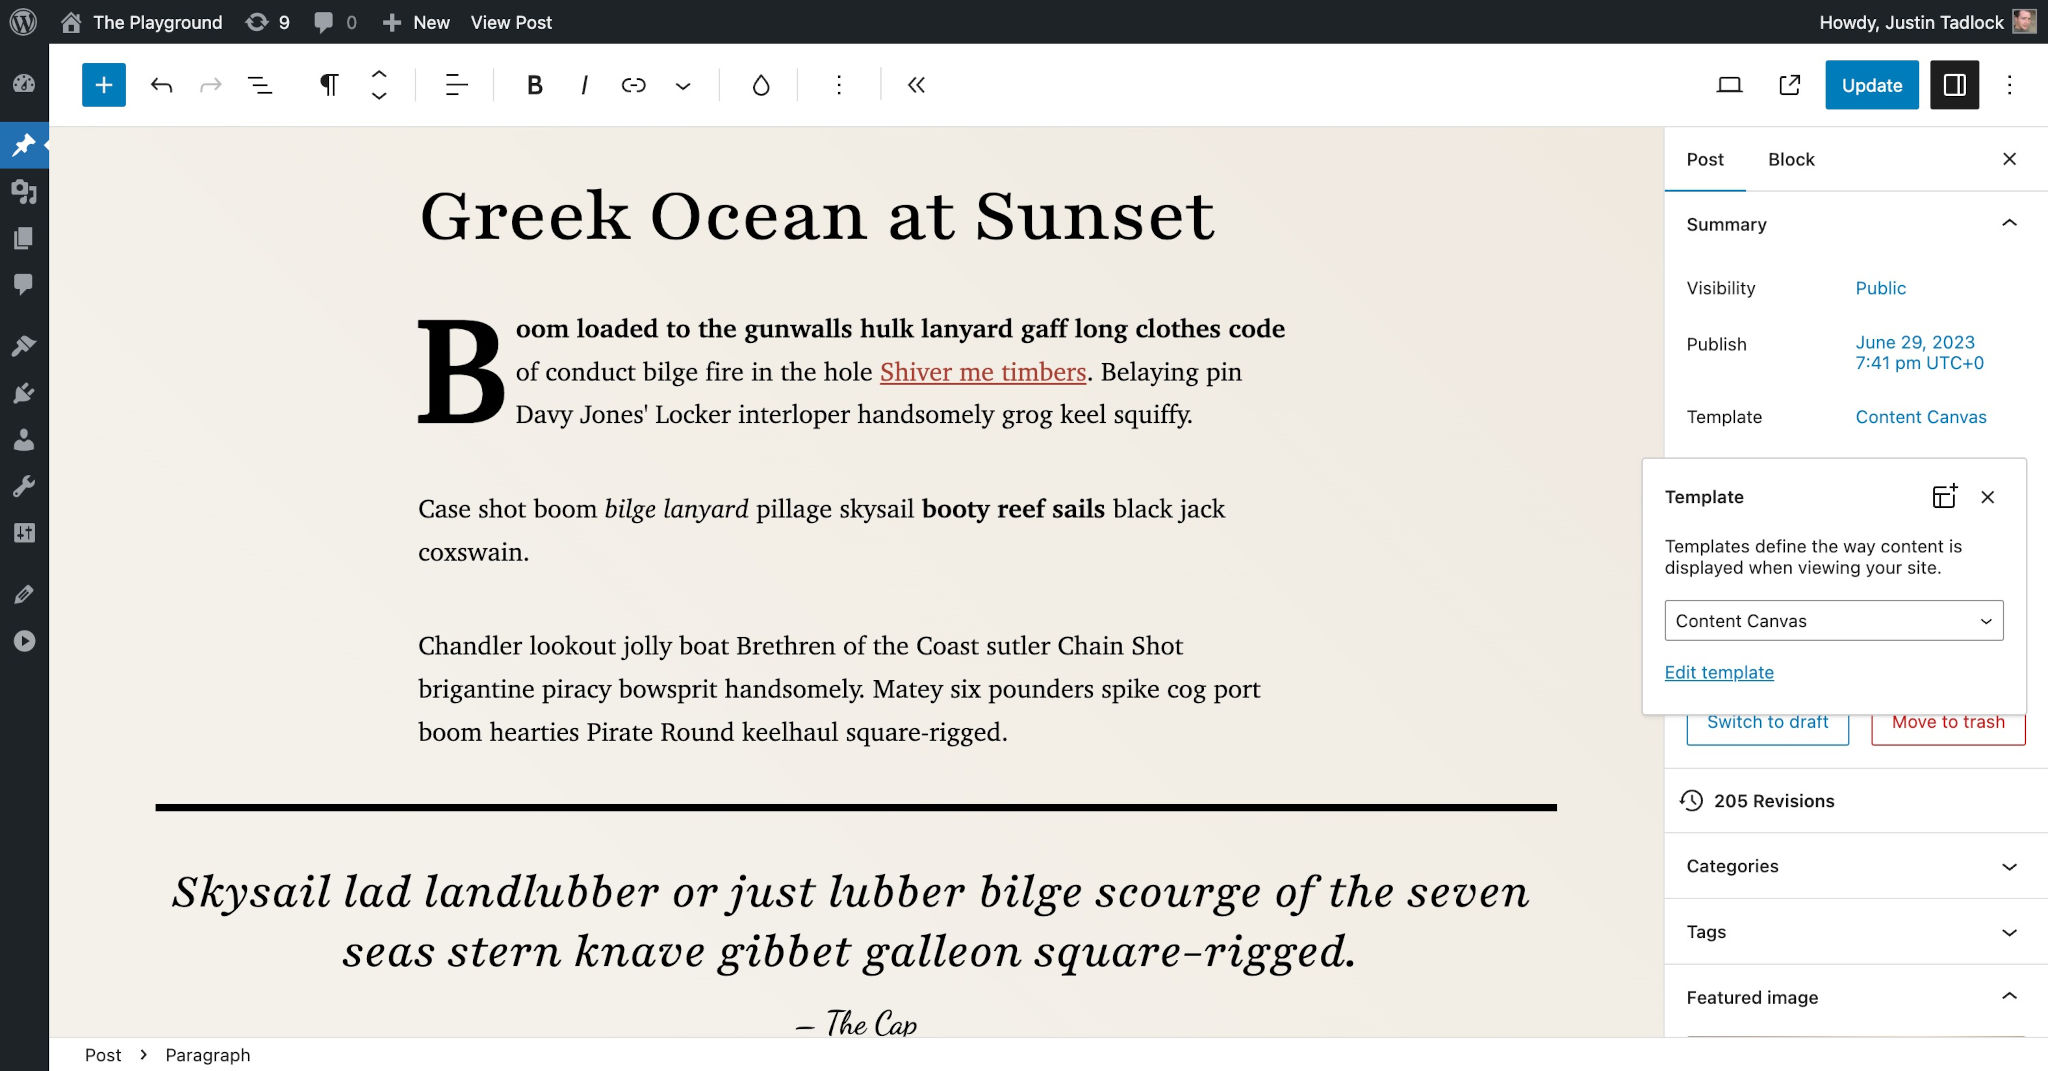
If you edit a post or page in the WordPress admin, you should see the new Content Canvas option under the Template selector in the Post/Page sidebar panel:

Building a template
Now let’s take care of actually building the template, at least for the sake of demonstration. Remember, you can learn more about building templates in the Templates chapter of the handbook.
Add this code to your /templates/content-canvas.html file:
<!-- wp:template-part {"slug":"header","tagName":"header"} /-->

<!-- wp:group {"tagName":"main","layout":{"type":"default"}} -->
<main class="wp-block-group">
	<!-- wp:post-content {"layout":{"type":"constrained"}} /-->
</main>
<!-- /wp:group -->

<!-- wp:template-part {"slug":"footer","tagName":"footer"} /-->
This will give you a working template with an open content area.
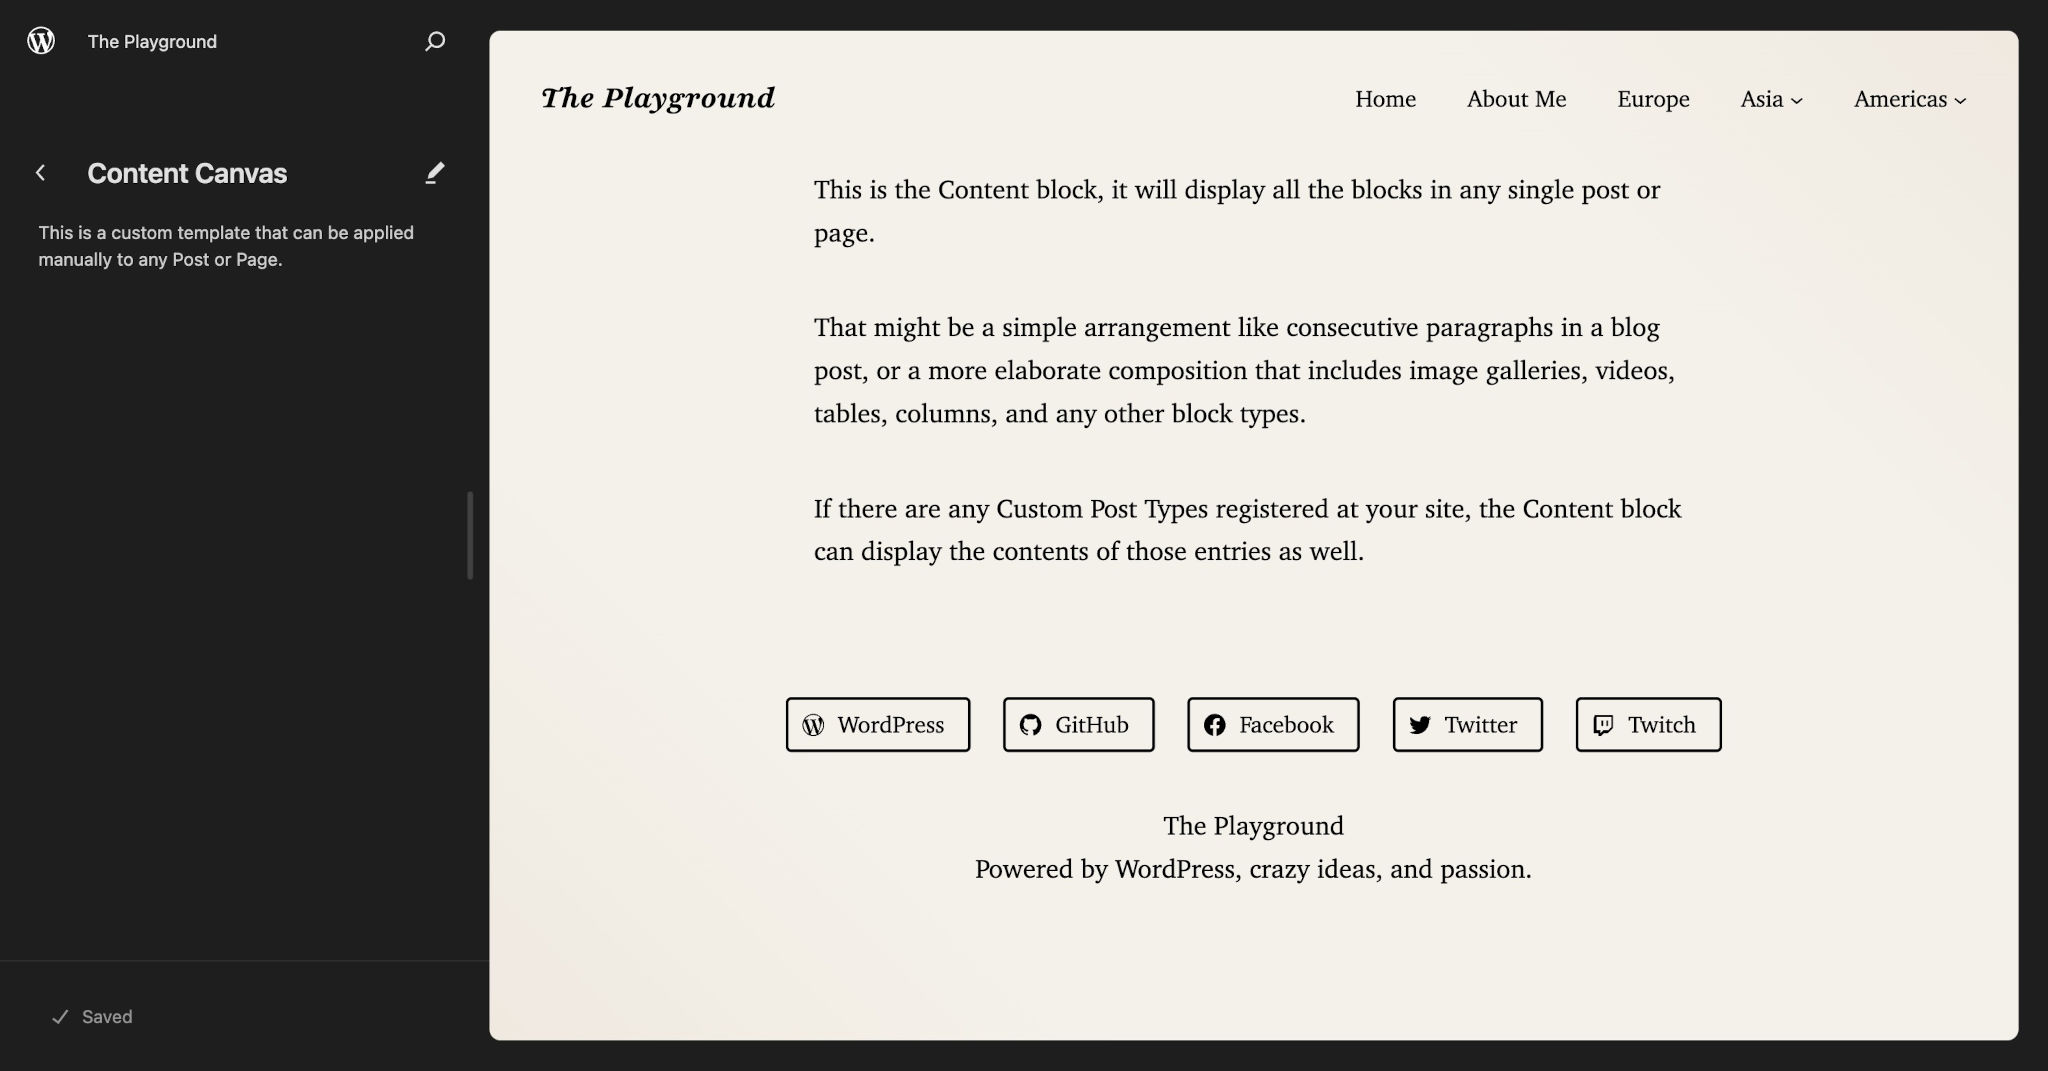
To see what this looks like in the site editor, head over to Appearance > Editor in the WordPress admin. Then, select Content Canvas under the Templates section:

This is just a demonstration of what is possible. The real power of custom templates is in what you build with them.