Was it difficult for me to watch tutorials and read articles on habr?
Well, let's say it was interesting 🌝
I learned a lot of interesting things, but only superficially, there are still many incredible things that I want to understand.
Well, as usual, I'll clarify that I'm not a know-it-all, and I can only superficially highlight the main stages of the renderer.
For more information, go to the Internet (there is an incredible amount of information, and everything is FREE).
An important component of rendering are 3D objects (Captain Obvious Strikes Again!).
They consist of the so-called polygons, in fact, these are some figures from which, as if brick by brick, the entire object is built.
We're going to use a triangle as our base shape (polygon) since it's the simplest shape (I advise you to read more about the benefits of this figure).
So, first we need to create a number of polygons, which together make up some object.
We must not forget that polygon vertices are points in 3d space that have 3 coordinates: X, Y, Z.
And our screen only has 2: X, Y.
What to do? Well, we can sort of leave a trail of these 3D points on a 2D screen.
It sounds strange, but you can think of it as a shadow of a 3D object on some surface.
To put it simply, we need to convert 3D coordinates to 2D.
Luckily, it's pretty easy (how exactly? Google it, buddy).
Yes, that's right, this is the last step.
Don't you think it's strange that it's so easy? It still seems to me..
But it’s true, there is nothing complicated in 3D rendering (well, it’s still how to look.. haha).
Difficulties arise when immersed in issues related to lighting, realism, performance, and so on..
So if you suddenly decide to seriously engage in the development of software, one way or another related to 3D rendering, you will have to stock up on antidepressants, because you will have to feel your stupidity properly 😅
package just.curiosity.renderer_3d;

import just.curiosity.renderer_3d.core.Renderer3D;

public class Main {
  public static void main(String[] args) {
    // Just instantiate the renderer class by passing the screen
    // width and height as parameters to the constructor.
    Renderer3D renderer = new Renderer3D(800, 600);

    // Launch renderer.
    renderer.start();
  }
}
If you run the code above, you will get a black screen. This is because we didn't pass polygons to the renderer. So let's do it.
package just.curiosity.renderer_3d;

import just.curiosity.renderer_3d.core.Renderer3D;
import just.curiosity.renderer_3d.core.point3d.Point3D;
import just.curiosity.renderer_3d.core.polygon3d.Polygon3D;

import java.awt.Color;
import java.util.ArrayList;
import java.util.List;

public class Main {
  public static void main(String[] args) {
    // Just instantiate the renderer class by passing the screen
    // width and height as parameters to the constructor.
    Renderer3D renderer = new Renderer3D(800, 600);

    List<Polygon3D> polygons = new ArrayList<>();

    // Adding a Simple Polygon to the Polygon Array.
    Polygon3D polygon = new Polygon3D(Color.WHITE,
      new Point3D(0, -1, 0),
      new Point3D(0, 0, 1),
      new Point3D(0, 1, 0));

    polygons.add(polygon);

    // Passing polygons to our renderer.
    renderer.setPolygons(polygons);

    // Launch renderer.
    renderer.start();
  }
}
When you run the code, you should see a small dim triangle.
Well, that's essentially all you need to use this renderer.
🔹 To rotate an object around the Z and Y axes, press and hold any of the mouse buttons, then move the mouse right, left, up, or down
🔹 To rotate an object around the X axis, hold SHIFT, then, without releasing the mouse button, move it to the right or left
🔹 To move the "camera", hold down CTRL and, without releasing the mouse button, move it up, down, right or left
🔹 And finally, to zoom in or out on an object, hold down CTRL and rotate the mouse wheel (forward - zoom in, backward - zoom out)
Next to the Main.java class, you should find the PolygonBuilder.java class.
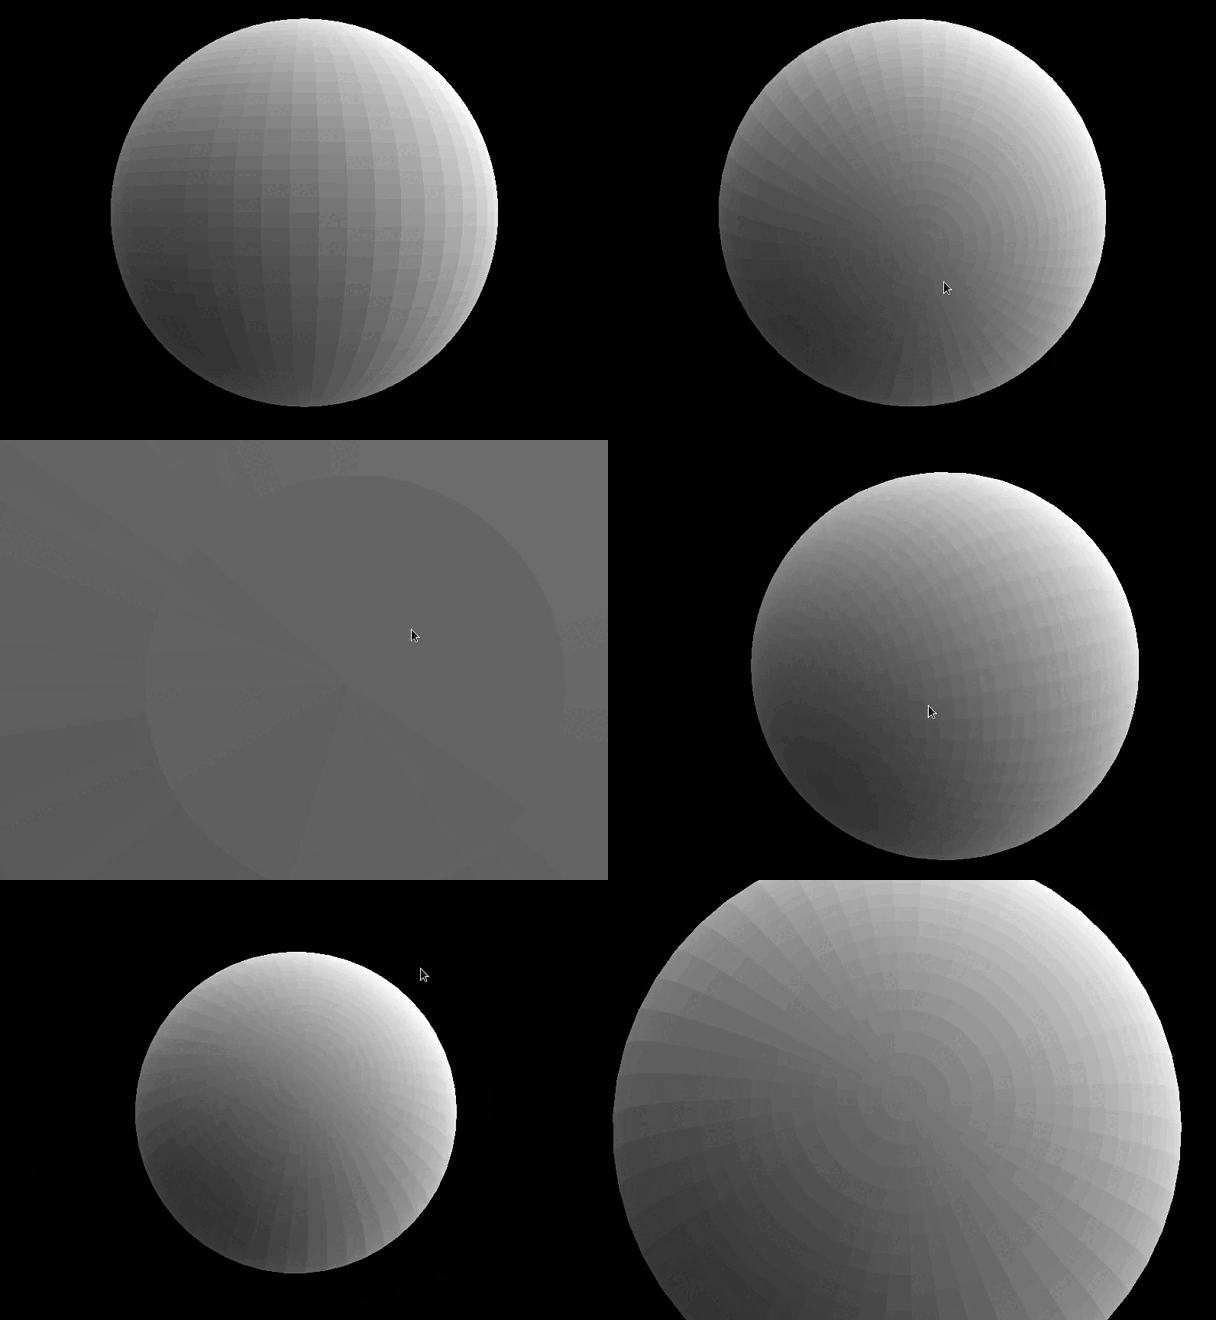
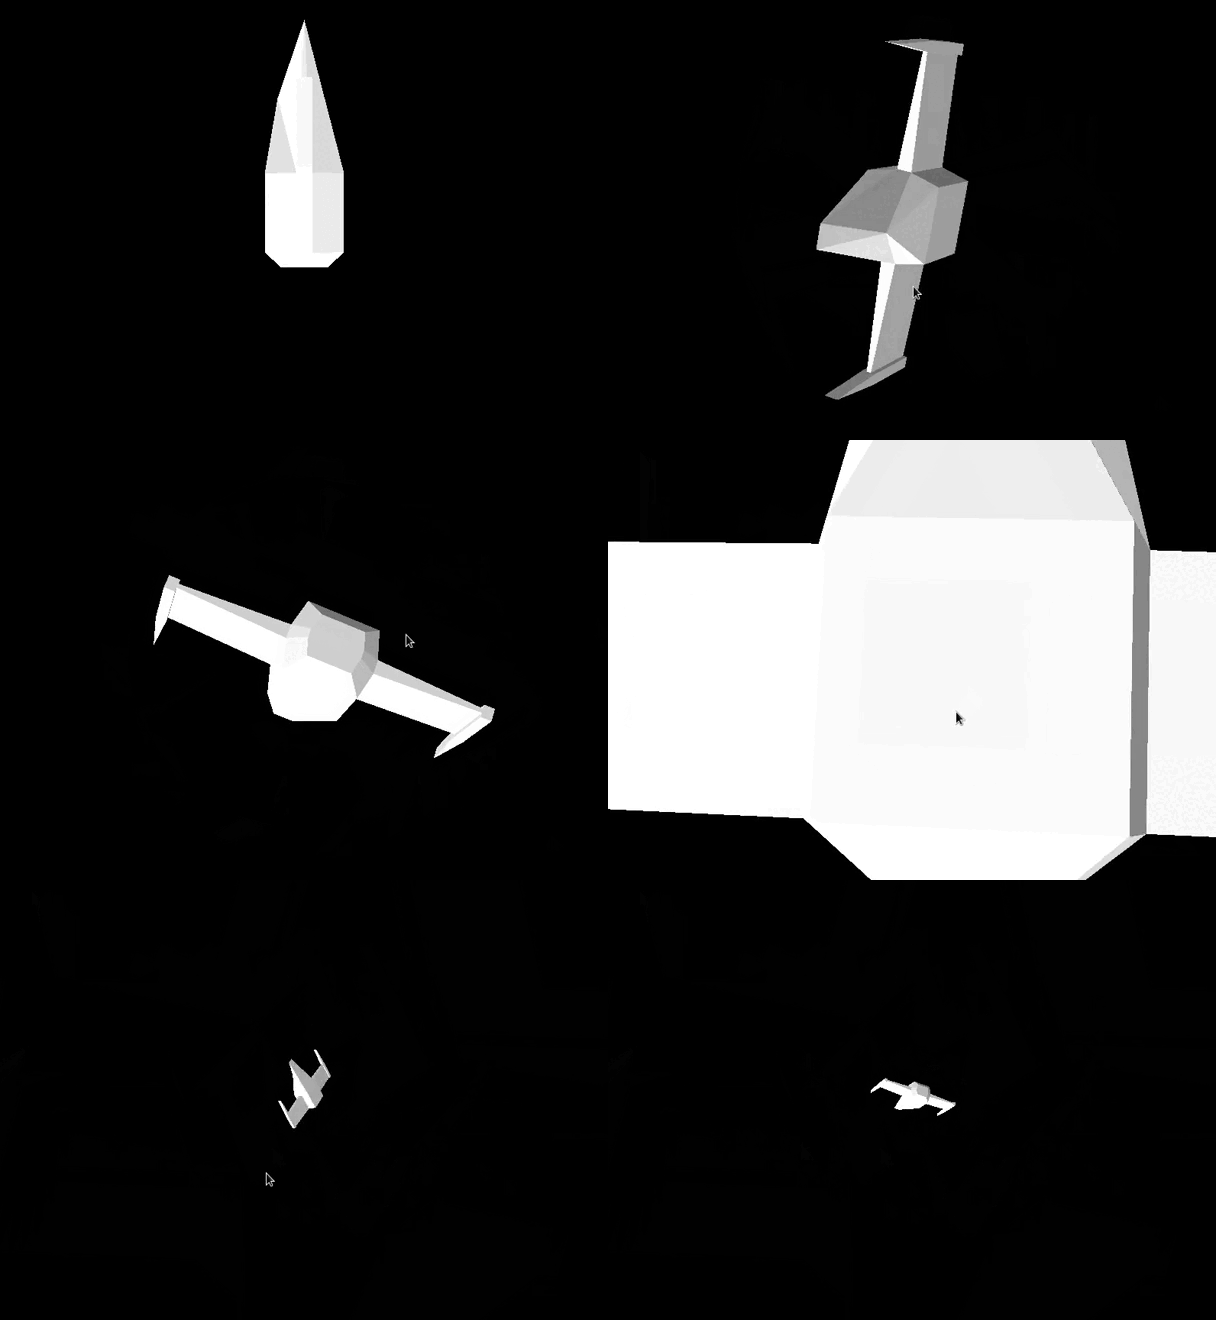
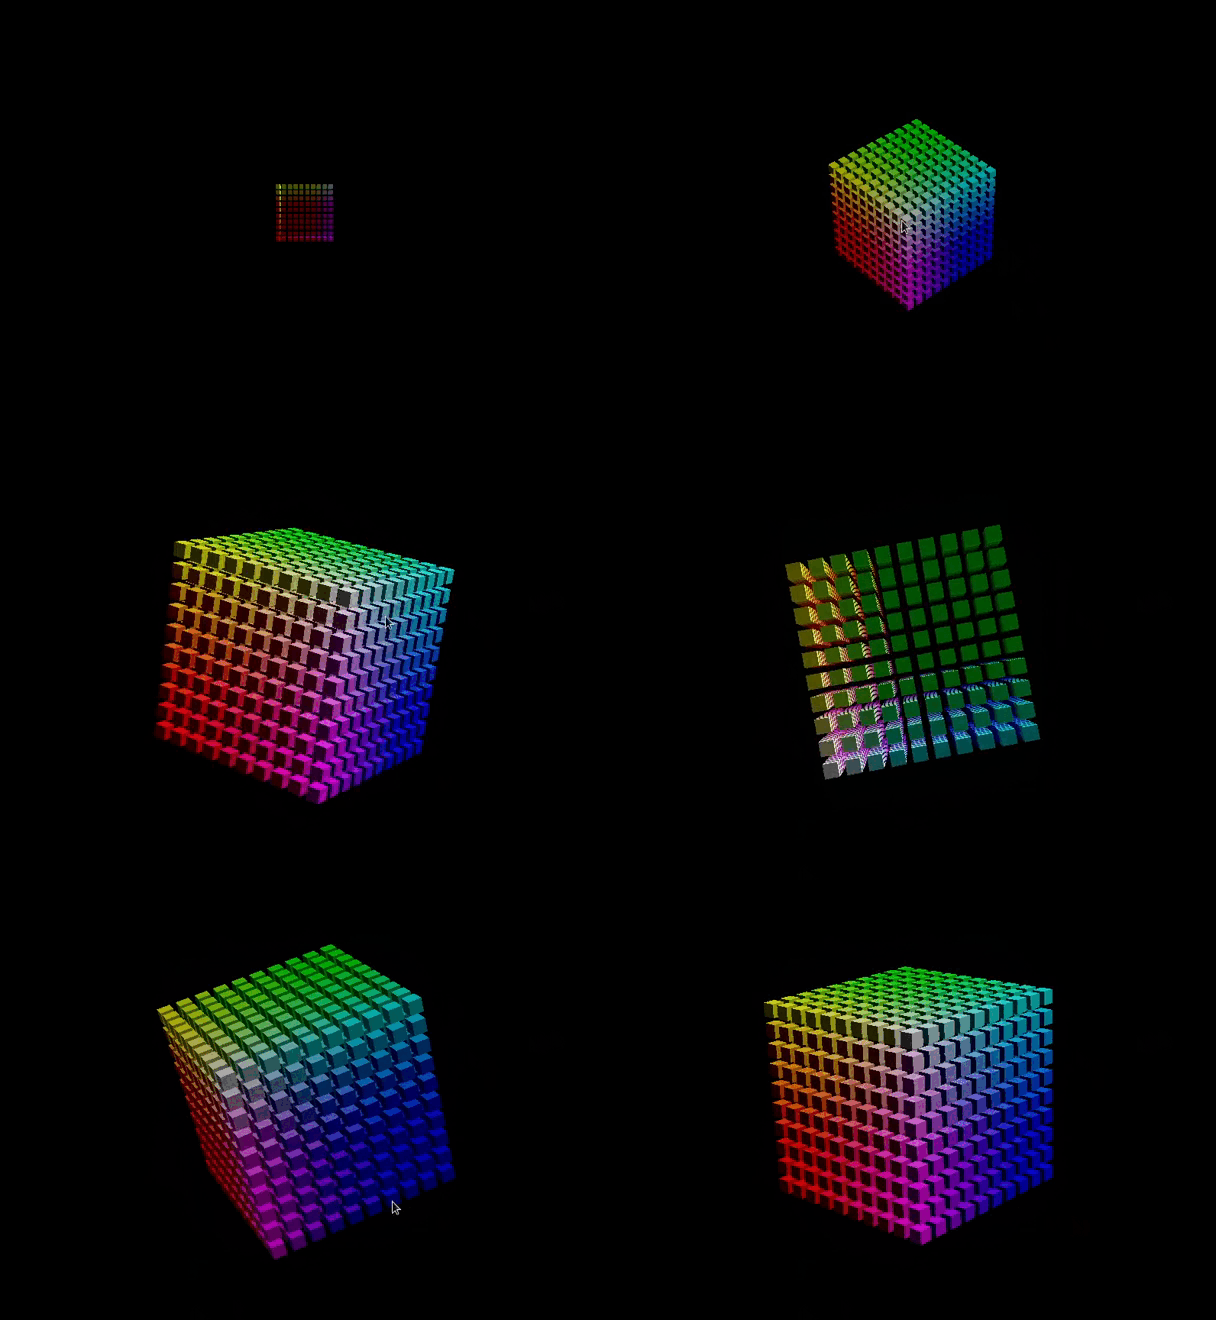
There I prepared some interesting shapes, let's try each of them.
package just.curiosity.renderer_3d;

import just.curiosity.renderer_3d.core.Renderer3D;
import just.curiosity.renderer_3d.core.polygon3d.Polygon3D;

import java.awt.Color;
import java.util.List;

public class Main {
  public static void main(String[] args) {
    // Just instantiate the renderer class by passing the screen
    // width and height as parameters to the constructor.
    Renderer3D renderer = new Renderer3D(800, 600);

    // Loading polygons from the builder.
    List<Polygon3D> polygons = PolygonBuilder.sphere(Color.WHITE);

    // Passing polygons to our renderer.
    renderer.setPolygons(polygons);

    // Launch renderer.
    renderer.start();
  }
}package just.curiosity.renderer_3d;
import java.awt.Color;
import java.io.IOException;
import java.util.List;
import just.curiosity.renderer_3d.core.Renderer3D;
import just.curiosity.renderer_3d.core.polygon3d.Polygon3D;
public class Main {
public static void main(String[] args) {
// Just instantiate the renderer class by passing the screen
// width and height as parameters to the constructor.
Renderer3D renderer = new Renderer3D(800, 600);
// Load simple model from "spaceship.obj" file.
List<Polygon3D> polygons;
try {
polygons = PolygonBuilder.loadFromFile("src/main/resources/spaceship.obj", Color.WHITE);
} catch (IOException e) {
throw new RuntimeException("Can't load .obj file: " + e);
}
// Passing polygons to our renderer.
renderer.setPolygons(polygons);
// Launch renderer.
renderer.start();
}
}package just.curiosity.renderer_3d;
import java.util.List;
import just.curiosity.renderer_3d.core.Renderer3D;
import just.curiosity.renderer_3d.core.polygon3d.Polygon3D;
public class Main {
public static void main(String[] args) {
// Just instantiate the renderer class by passing the screen
// width and height as parameters to the constructor.
Renderer3D renderer = new Renderer3D(800, 600);
// Loading polygons from the builder.
List<Polygon3D> polygons = PolygonBuilder.rgbCube();
// Passing polygons to our renderer.
renderer.setPolygons(polygons);
// Launch renderer.
renderer.start();
}
}