[재하] 1126(일) 개발기록
- store star & galaxy style with MongoDB
- mongoDB 설치 및 설정
- yarn add mongoose, MongoDB 연결
- 스키마 생성, board 모듈에 등록
- 서비스에 모델 주입
- 게시글 작성 시 star 객체 입력받아 MongoDB에 저장
- 트러블 슈팅 1 : 데이터베이스 지정 안되는 문제
- 트러블 슈팅 2 : star_id 삽입 시 mysql 타입 에러
- 게시글 목록 조회 시 style, position 불러오기
- 테스트
- 배포용 DB 인스턴스에 MongoDB 설치 및 외부연동
- NAT Gateway 구성
- MongoDB 설치
- 서버 인스턴스에서의 연결 테스트
공식문서 쭉 따라가면 된다.
- public (GPG) key import
sudo apt-get install gnupg curl

curl -fsSL https://pgp.mongodb.com/server-7.0.asc | \
   sudo gpg -o /usr/share/keyrings/mongodb-server-7.0.gpg \
--dearmor- mongodb list 파일 생성

ubuntu 버전에 맞게 list 파일 생성. VM 내 버전은 22.04
echo "deb [ arch=amd64,arm64 signed-by=/usr/share/keyrings/mongodb-server-7.0.gpg ] https://repo.mongodb.org/apt/ubuntu jammy/mongodb-org/7.0 multiverse" | sudo tee /etc/apt/sources.list.d/mongodb-org-7.0.list그러면 /etc/apt/sources.list.d/mongodb-org-7.0.list 생성됨
- 로컬 패키지 database 리로드
sudo apt update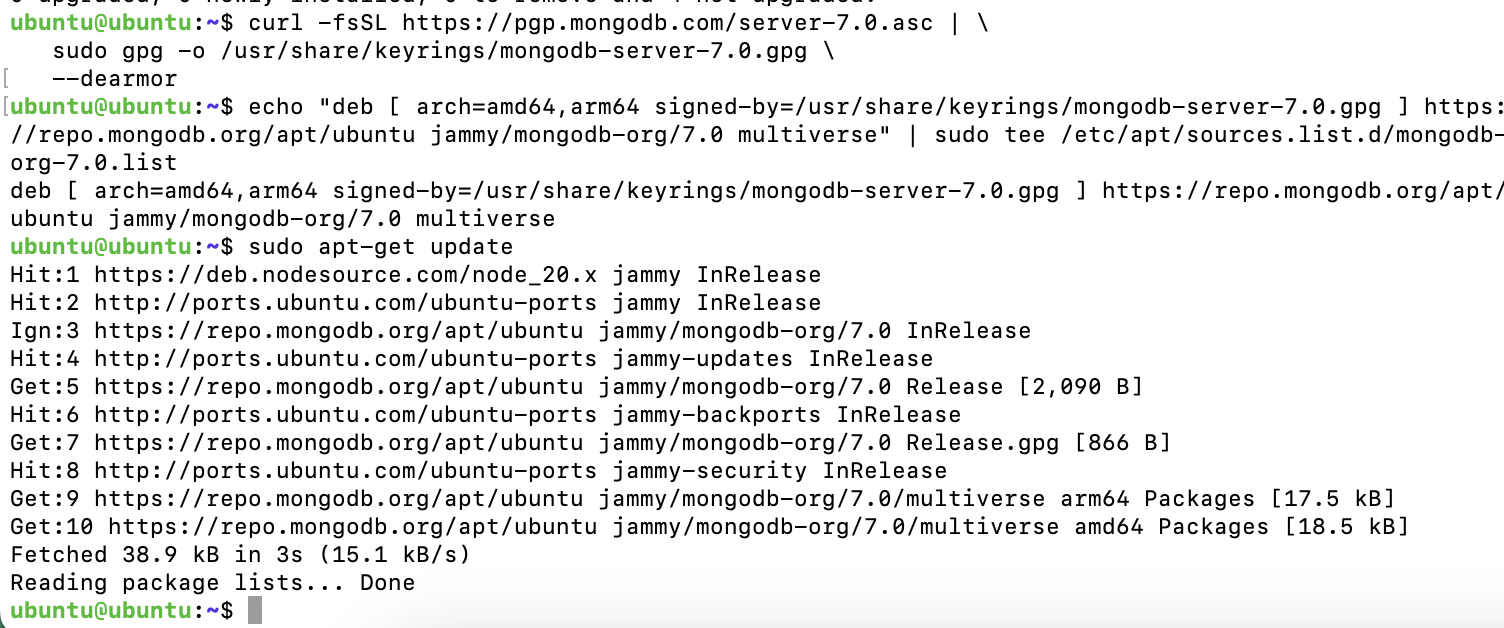
여기까지 에러가 없어야 한다. 세팅 안해주면 패키지 못찾아서 설치 안됨
- MongoDB 최신버전 설치
sudo apt-get install -y mongodb-org

mongod --version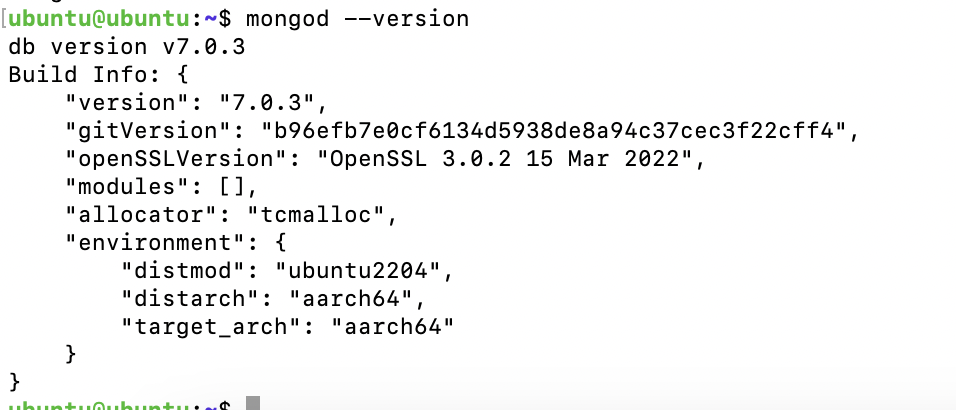
설치 잘 된것 확인
- 실행/관리용 init 시스템 확인
systemctl을 쓰는지 service를 쓰는지를 확인하는 과정. 경험상 같은 우분투라도 환경마다 다름
ps --no-headers -o comm 1-
systemd면systemctl사용 -
init(System V Init)이면service사용

여기서는 systemctl 사용하시면 되겠다.
- mongodb 실행
sudo systemctl start mongod # 시작

sudo systemctl status mongod # 상태 확인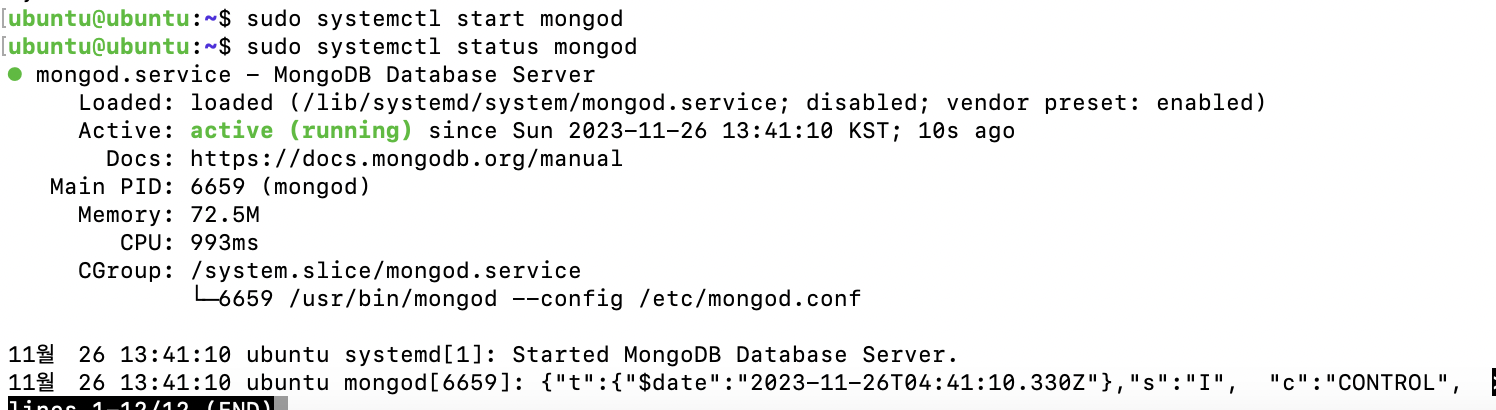
참고할 기타 명령은 아래와 같다.
sudo systemctl daemon-reload # 시작 시 에러뜨면 데몬 리로드

sudo systemctl enable mongod # 시스템 시작 시 실행
sudo systemctl stop mongod # 중지
sudo systemctl restart mongod # 재실행

mongosh # 콘솔 접근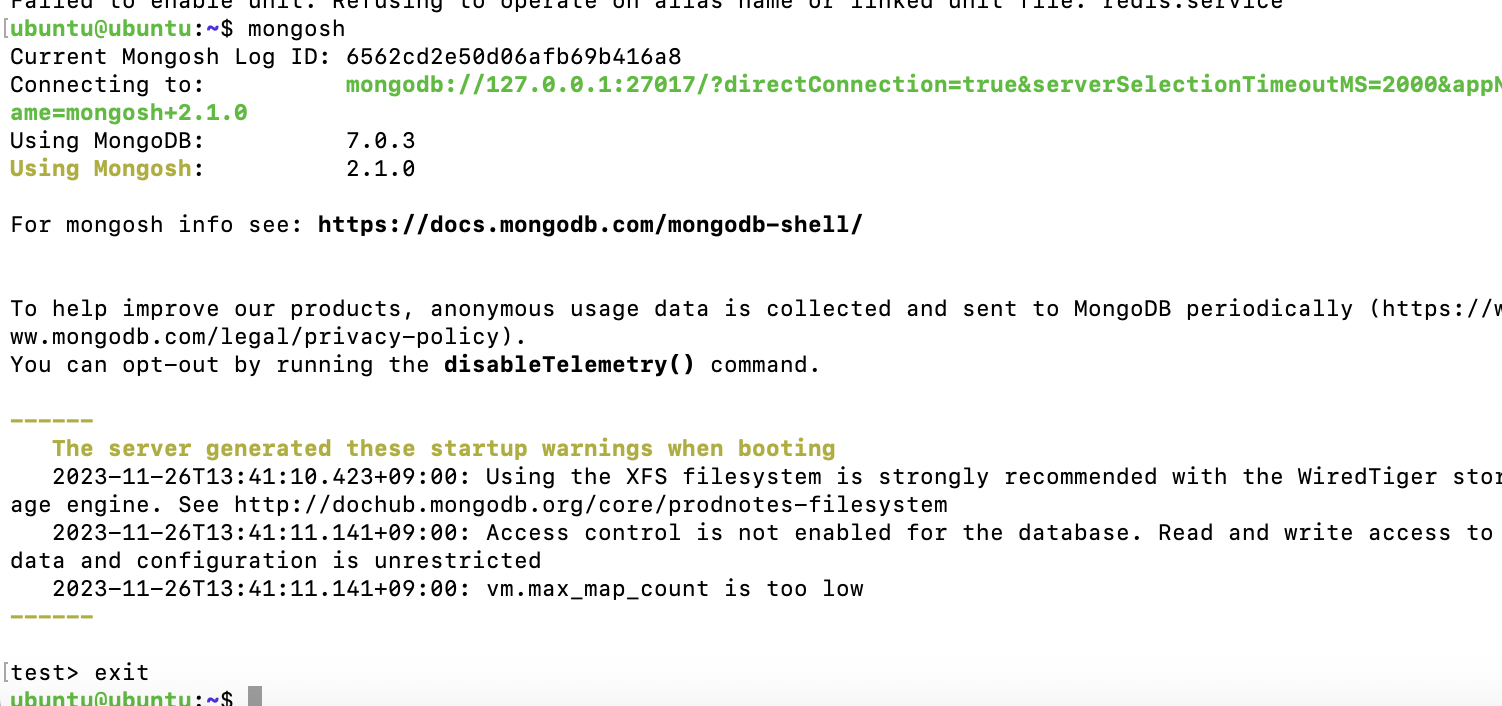
포트번호 27017 확인
- 외부접근 테스트
콘솔접근 해도 되지만 예전에도 썼었던 보다 간편한 mongodb compass를 애용해보겠다.

먹통ㅋ ufw 때문일듯
- UFW(방화벽) 허용
sudo ufw allow 27017/tcp
sudo ufw status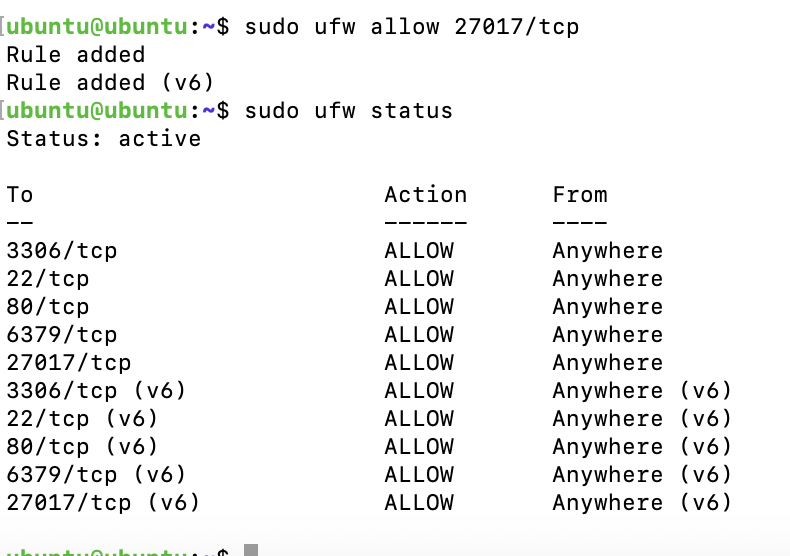
그래도 안된다. 여기도 설정에서 IP 바인딩 해줘야하나봄.
- IP 바인딩

예상이 맞았음
학습메모 8, 9 참고하여 IP 바인딩도 해준다.
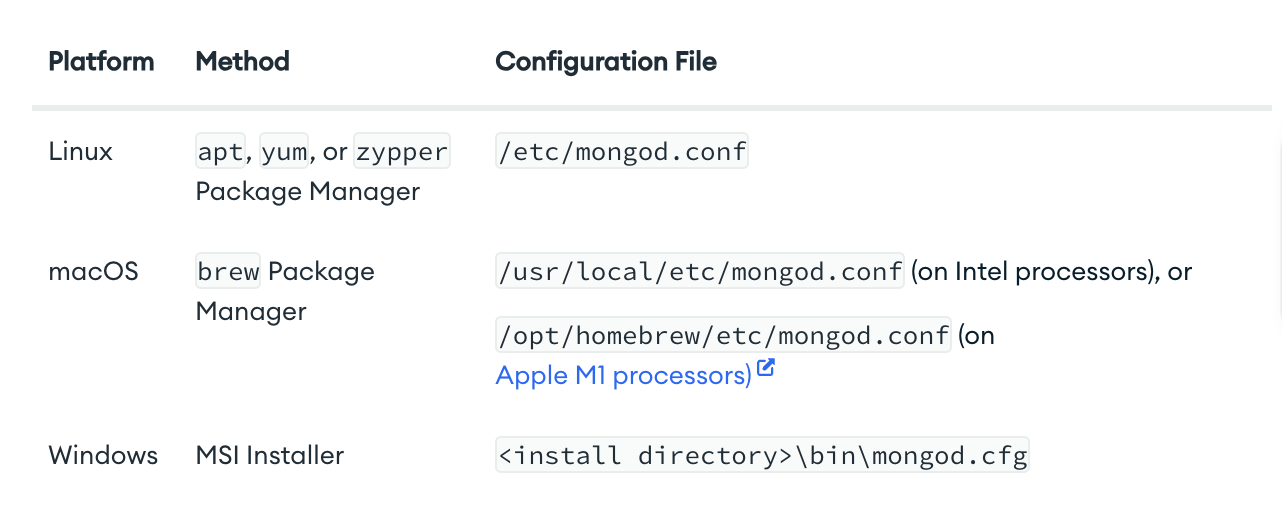
설정파일 위치는 /etc/mongod.conf.
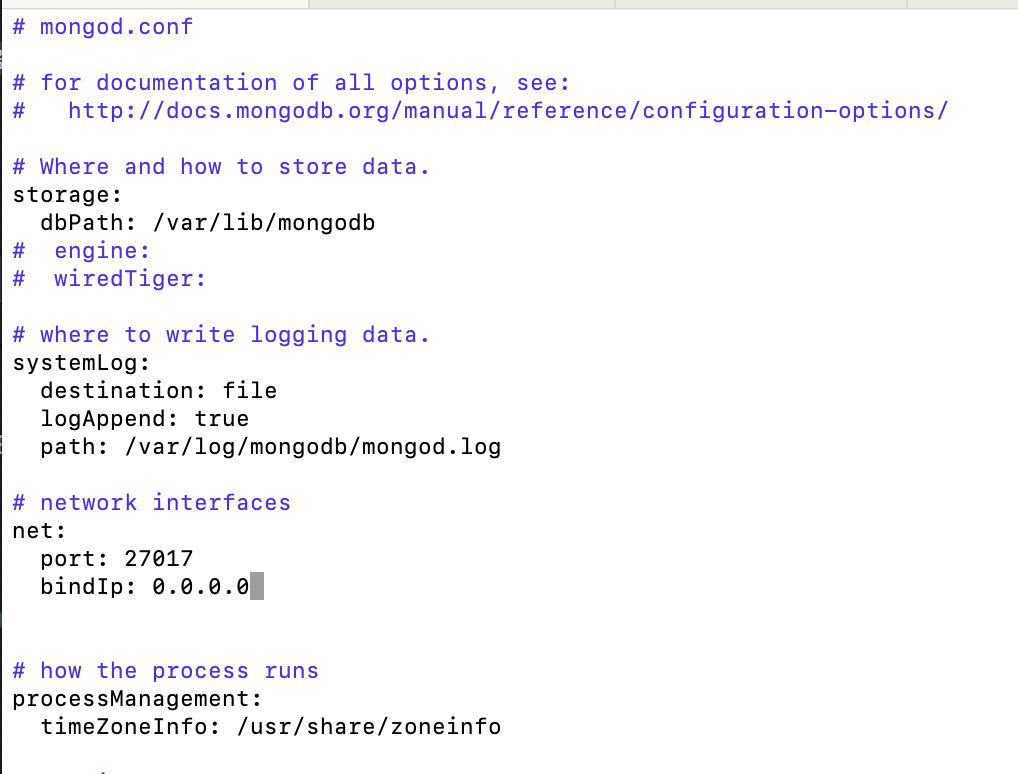
sudo vi /etc/mongod.conf # 설정파일 편집
sudo systemctl restart mongod # 재실행
bindIp를 0.0.0.0으로 설정해 모두 허용 후 저장.
restart로 재실행
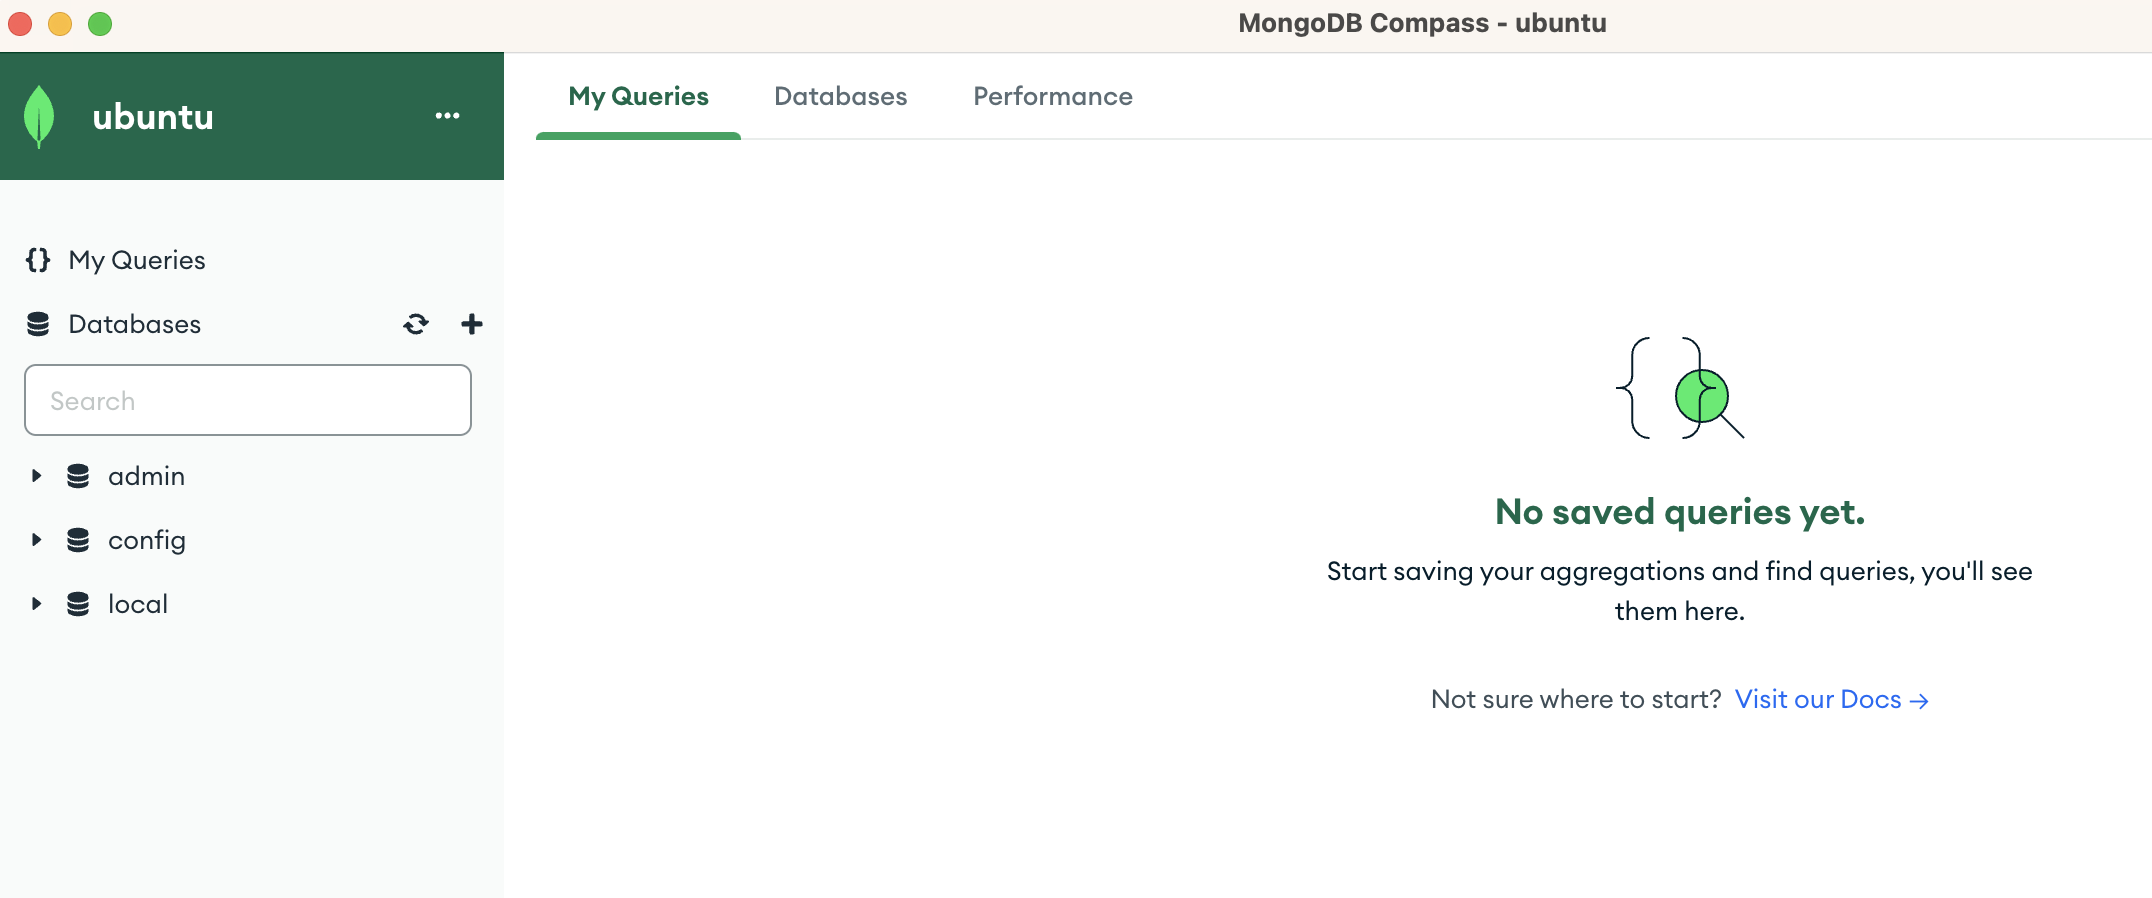
잘 된다 성공!
- 계정 설정
보안을 위해 id와 비밀번호를 부여할 필요가 있겠다.
로컬에선 필요없지만 배포 시를 대비해 알아두자.
mongosh쉘 접근
show databases;
use admin;
db.help;

대강 헬프 치면 될것같길래 쳐봤더니 user 관련된 메소드들을 확인할 수 있었다.
좋다 이제 학습메모 10을 참고해 유저를 생성해보자.
db.createUser({ user: '[유저이름]', pwd: '[비밀번호]', roles: ['root'] });
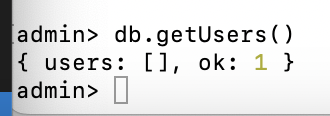
db.getUsers();
exit;
잘 생성됐고, 이제 configuration 파일에 security속성 내 authorization를 enabled로 설정 후 다시 재시작하자
sudo vi /etc/mongod.conf # 설정파일 편집
sudo systemctl restart mongod # 재실행
security:
authorization: enabled
위 줄을 추가하고 재시작하면 됨.
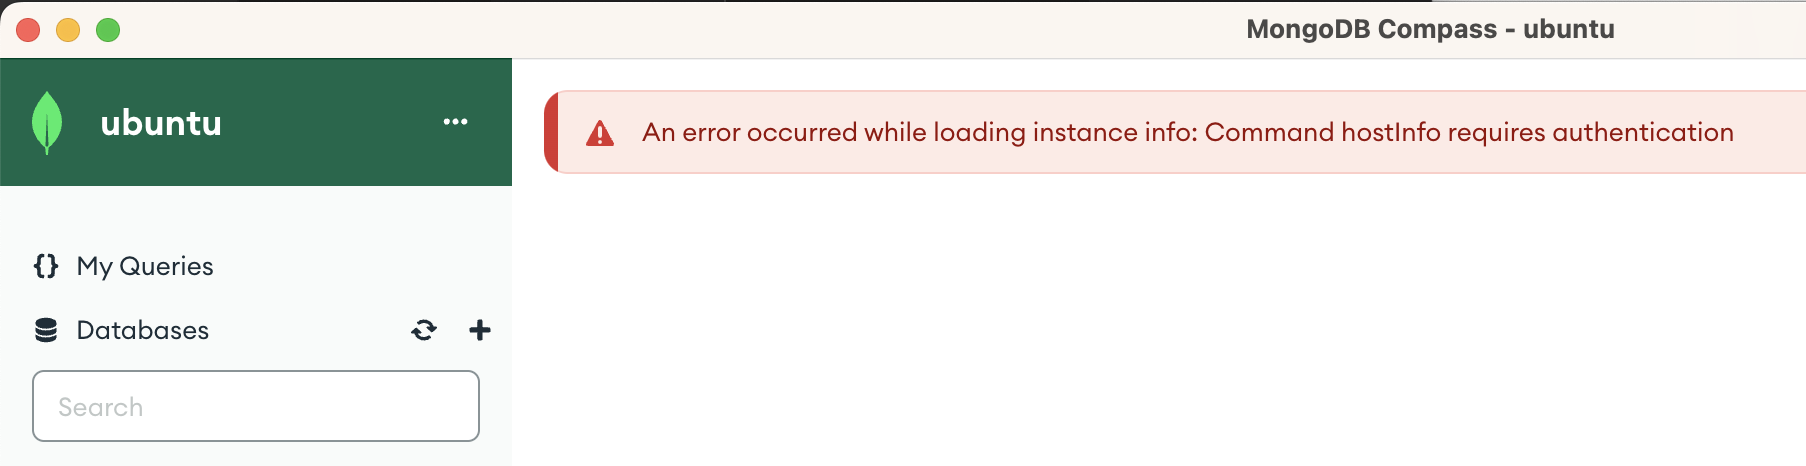
이제 아까처럼 id/pw 없는 세션으론 연결이 안된다.
# 규칙
mongodb://[username:password@]host1[:port1][,...hostN[:portN]][/[defaultauthdb][?options]]

# 적용 예
mongodb://jamie:jamie1234%21%21@localhost:27017/?authSource=admin
id/pw를 활용한 접근 url 규칙은 위와 같다. 학습메모 11 참고

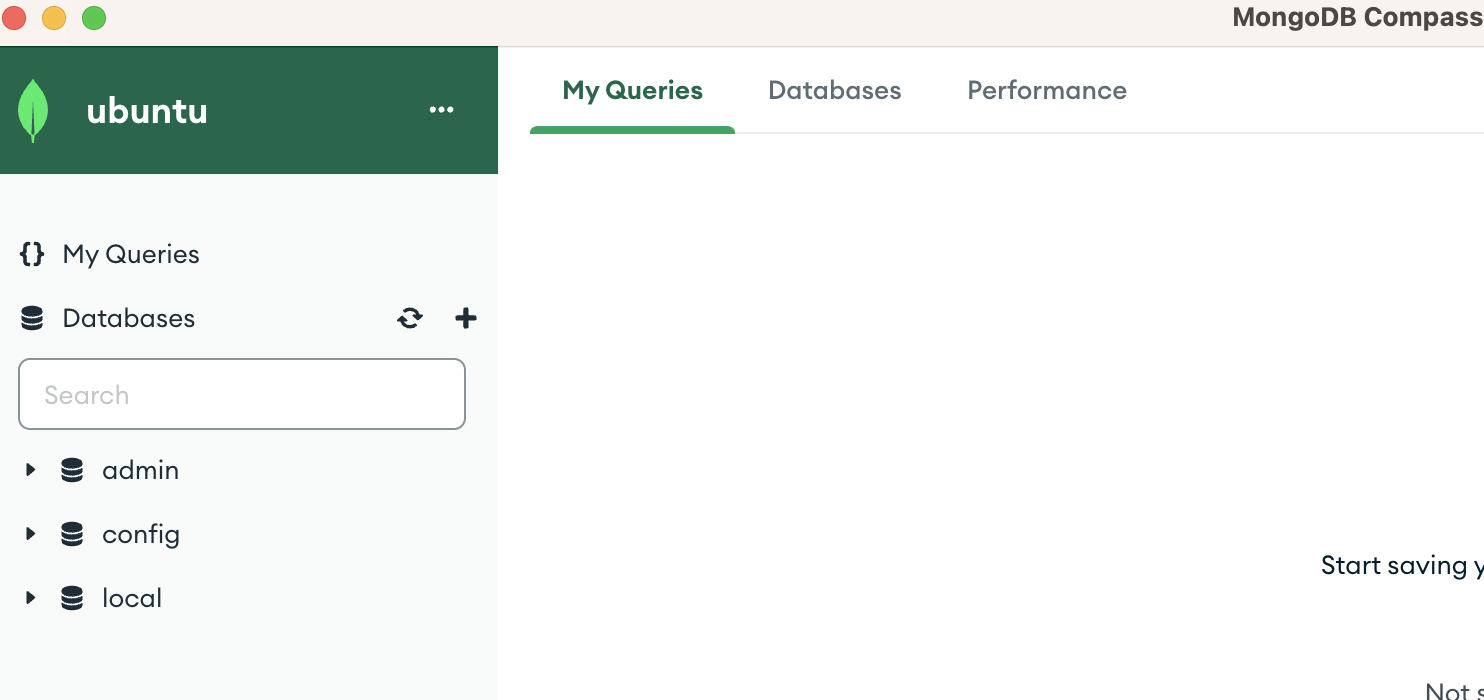
이제 다시 잘 접속됨! 굳
yarn workspace server add @nestjs/mongoose mongooseimport { mongooseConfig } from './config/mongoose.config';
@Module({
imports: [
AuthModule,
BoardModule,
TypeOrmModule.forRoot(typeOrmConfig),
MongooseModule.forRoot(mongooseConfig.uri),
],
controllers: [AppController],
providers: [AppService],
})
export class AppModule {}app.module.ts에 MongooseModule 등록
import { configDotenv } from 'dotenv';
configDotenv();

const mongooseConfig = {
	uri: process.env.MONGO_URI,
};

export { mongooseConfig };
config 파일은 process.env로 보안 처리
MONGO_URI=mongodb://ubuntu:ubuntu@192.168.64.2:27017
개발 환경에서는 아까 접근하던 URI를 활용했다.
import { Prop, Schema, SchemaFactory } from '@nestjs/mongoose';

export type StarDocument = Star & Document;

// 유연한 속성 추가, 삭제를 위해 strict: false 옵션을 추가하고 Prop() 데코레이터를 사용하지 않음
@Schema({ strict: false })
export class Star {}

export const StarSchema = SchemaFactory.createForClass(Star);
board/schemas/star.schema.ts 파일 생성.
속성 선택에 자유도를 주기위해 Document DB를 선택한 것이므로 @Prop은 주지 않고 데이터 속성이 유연하게 추가되거나 제거되고, 필수적인 속성 제한은 없도록 한다.
import { MongooseModule } from '@nestjs/mongoose';
import { Star, StarSchema } from './schemas/star.schema';

@Module({
	imports: [
		TypeOrmModule.forFeature([Board, Image, User]),
		AuthModule,
		MongooseModule.forFeature([{ name: Star.name, schema: StarSchema }]),
	],
	controllers: [BoardController],
	providers: [BoardService],
})
export class BoardModule {}
board module에 정의한 클래스와 스키마 등록
...
import { InjectModel } from '@nestjs/mongoose';
import { Star } from './schemas/star.schema';
import { Model } from 'mongoose';

@Injectable()
export class BoardService {
	constructor(
		...
		@InjectModel(Star.name)
		private readonly starModel: Model<Star>,
	) {}
  ...
}board.service.ts에서 이렇게 모델을 주입시켜주고 사용하면 된다.
import { ApiProperty } from '@nestjs/swagger';
import { IsJSON, IsNotEmpty, IsString, MaxLength } from 'class-validator';

export class CreateBoardDto {
	...
	@IsNotEmpty({ message: '별 스타일은 필수 입력입니다.' })
	@IsJSON({ message: '별 스타일은 JSON 형식으로 입력해야 합니다.' })
	@ApiProperty({
		description: '별 스타일',
		example: '{"color":"#000000", "position":{ "x": 50, "y": 0, "z": -50}}',
		required: false,
	})
	star: string;
}
create board DTO에 새로운 속성을 추가해준다. string으로 받되,
JSON 형태로 들어오는지 검사하는 Class-Validator를 추가해준다.
...
@Entity()
export class Board extends BaseEntity {
	...
	@Column({ type: 'varchar', length: 50, nullable: true })
	star: string;
}
board Entity 파일에는 새로운 컬럼으로 star 레코드의 _id를 저장해주는
외래키 역할(내부적으론 아니지만)의 star 컬럼을 추가해준다.
async createBoard(
  createBoardDto: CreateBoardDto,
  userData: UserDataDto,
  files: Express.Multer.File[],
): Promise<Board> {
  const { title, content, star } = createBoardDto;

  const user = await this.userRepository.findOneBy({ id: userData.userId });

  const images: Image[] = [];
  for (const file of files) {
    const image = await this.uploadFile(file);
    images.push(image);
  }

  // 별 스타일이 존재하면 MongoDB에 저장
  let star_id: string;
  if (star) {
    const starDoc = new this.starModel({
      ...JSON.parse(star),
    });
    await starDoc.save();
    star_id = starDoc._id.toString();
  }

  const board = this.boardRepository.create({
    title,
    content: encryptAes(content), // AES 암호화하여 저장
    user,
    images,
    star: star_id,
  });
  const createdBoard: Board = await this.boardRepository.save(board);

  createdBoard.user.password = undefined; // password 제거하여 반환
  return createdBoard;
}
마지막으로 board.service.ts의 createBoard() 메소드에 star 레코드를 생성하고, _id를 받아서 board 레코드 생성 시 이 아이디 값을 넣어주는 로직을 추가해준다.
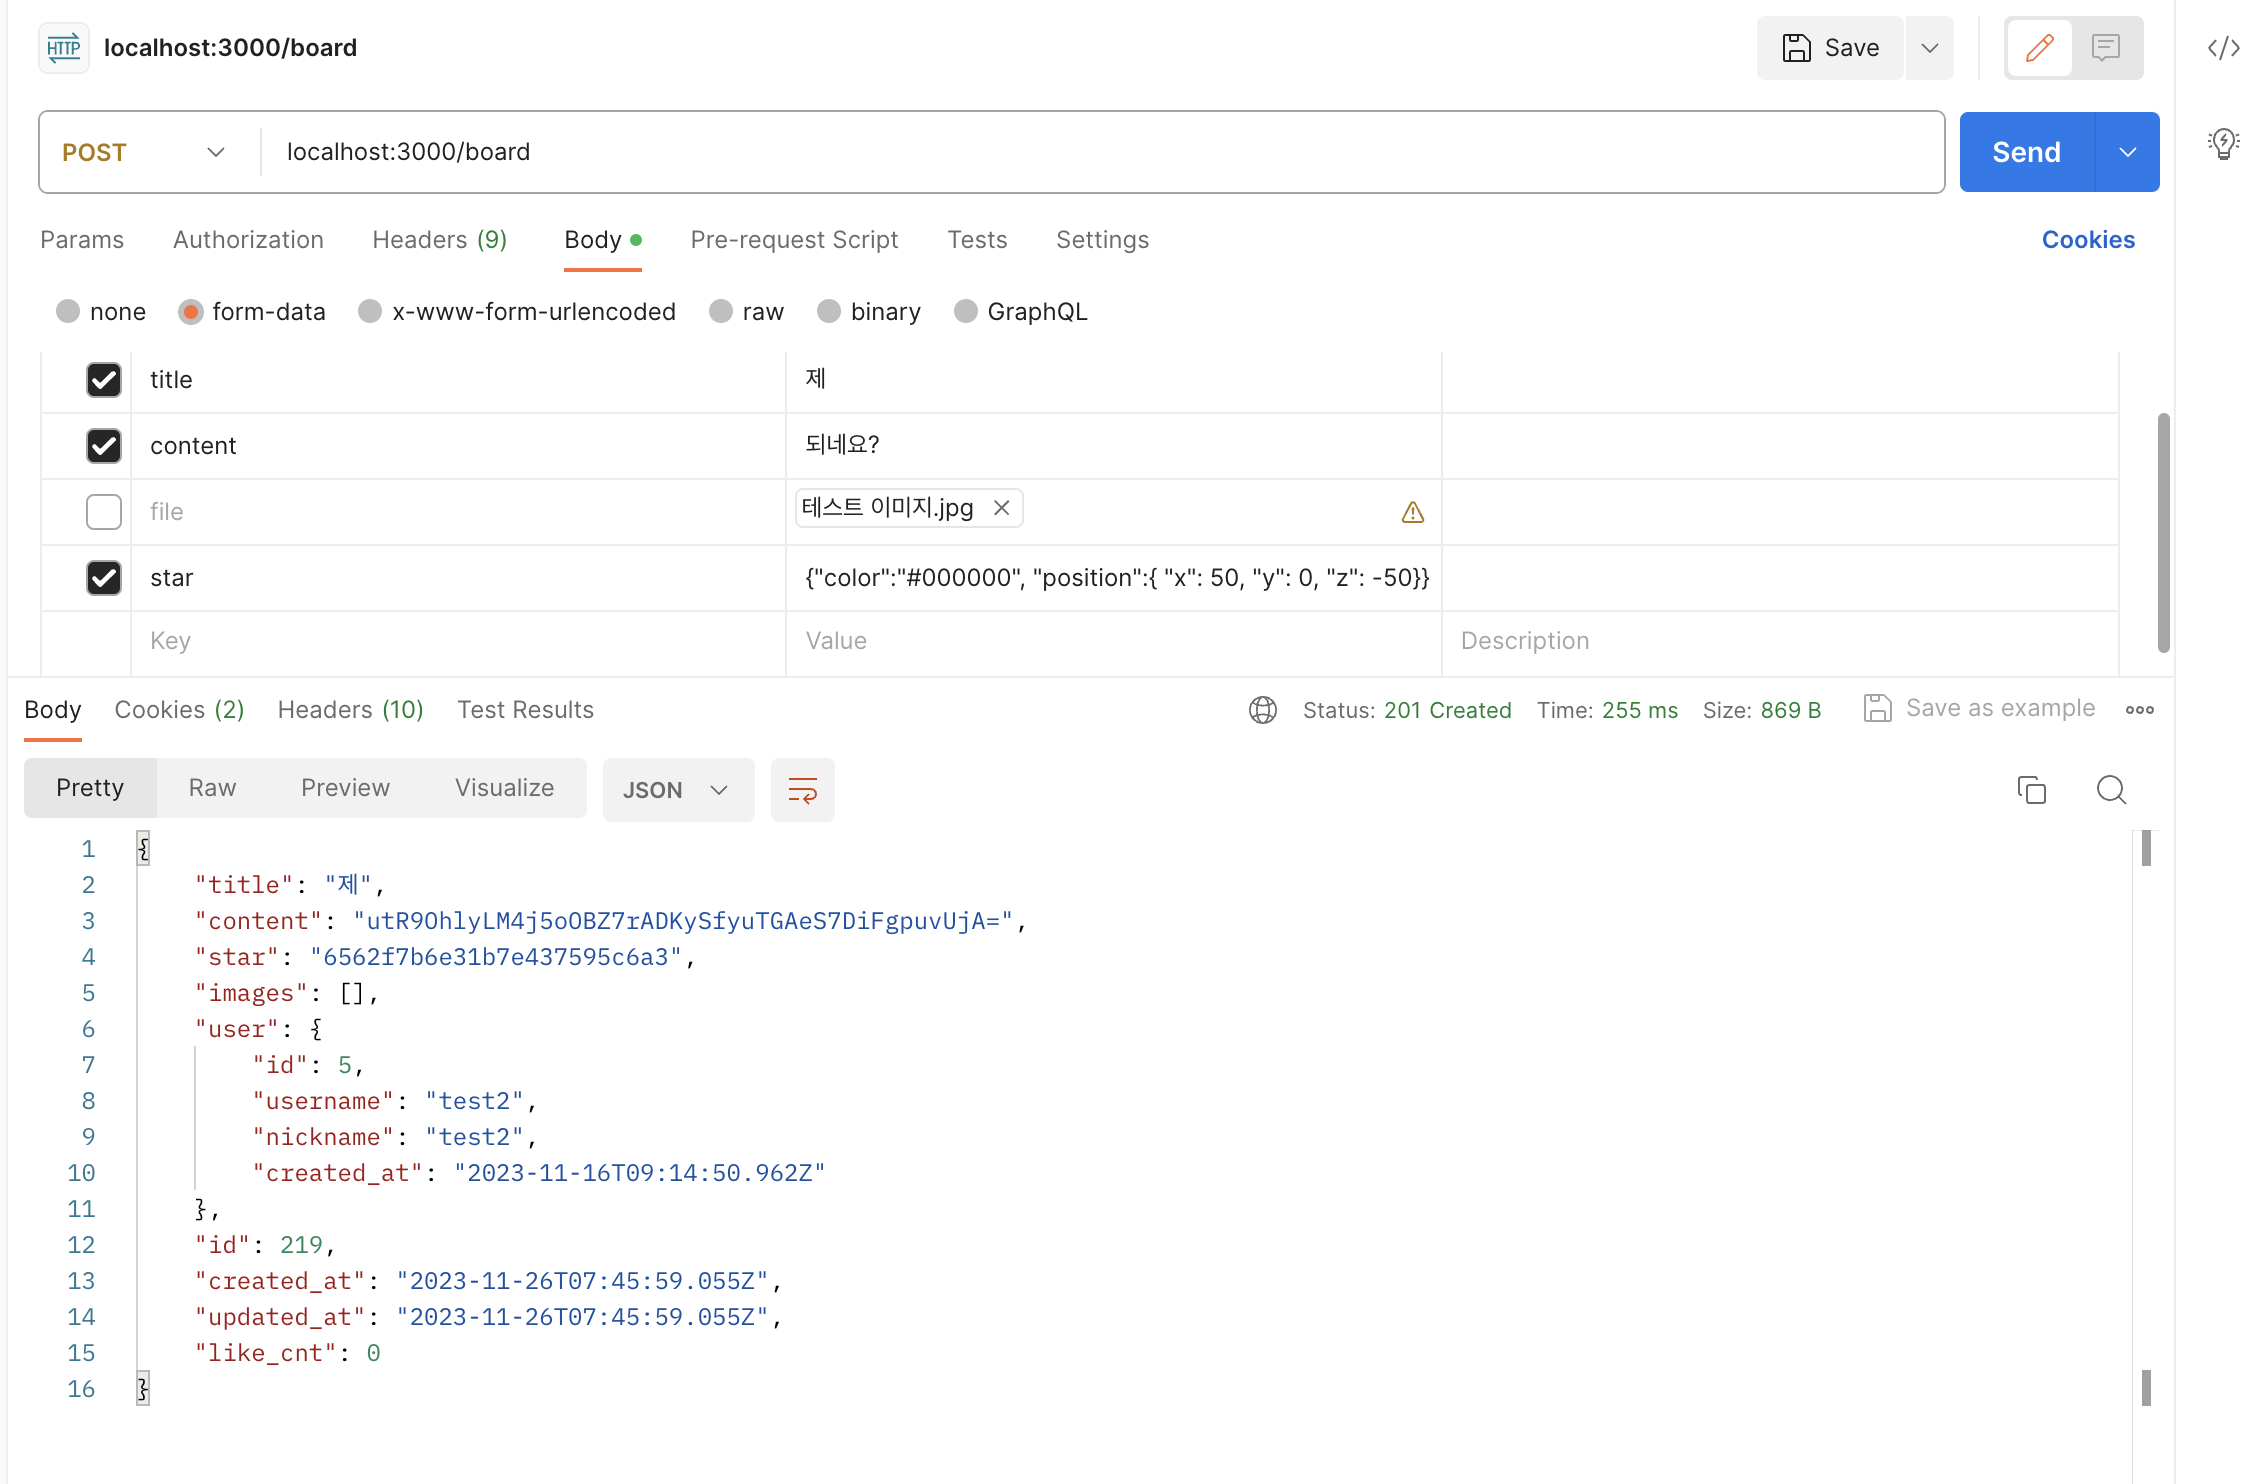
star id 잘 들어감
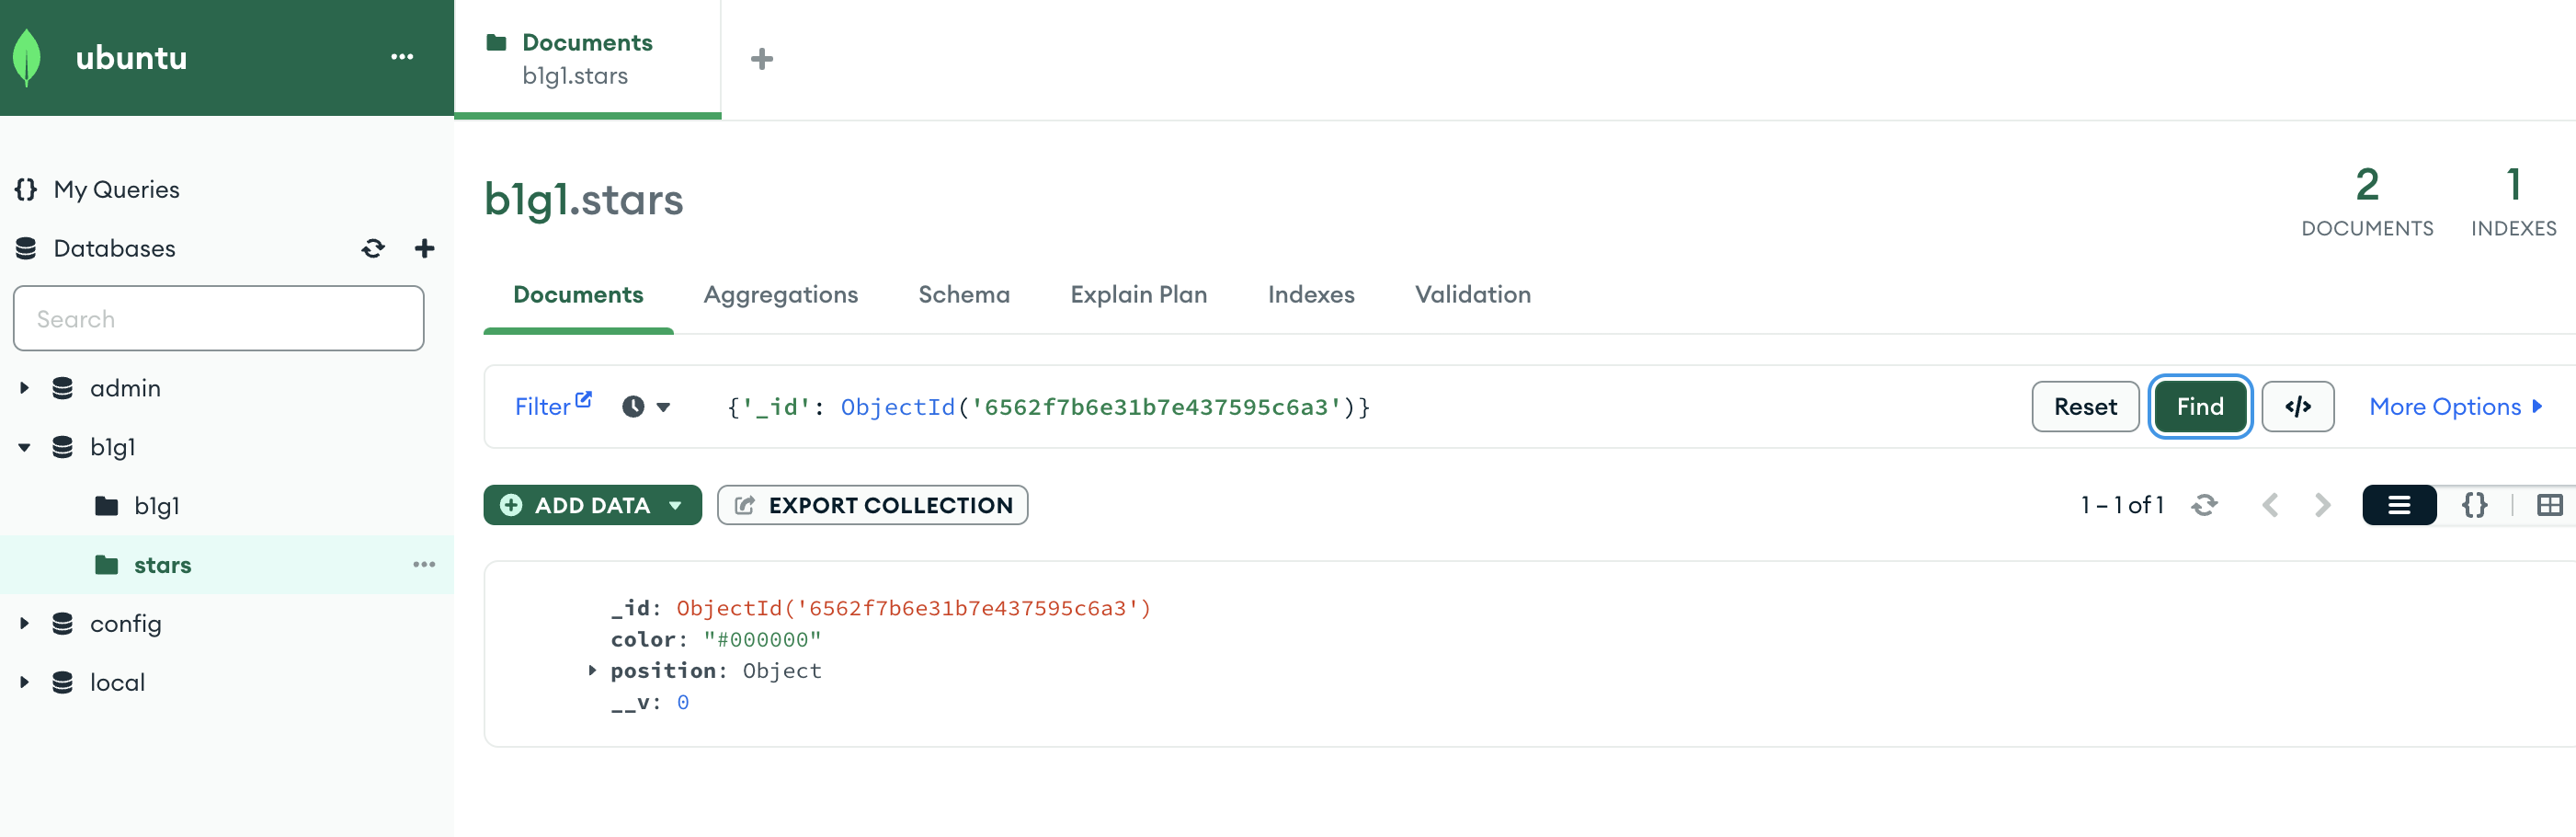
레코드 나처럼 잘 생김
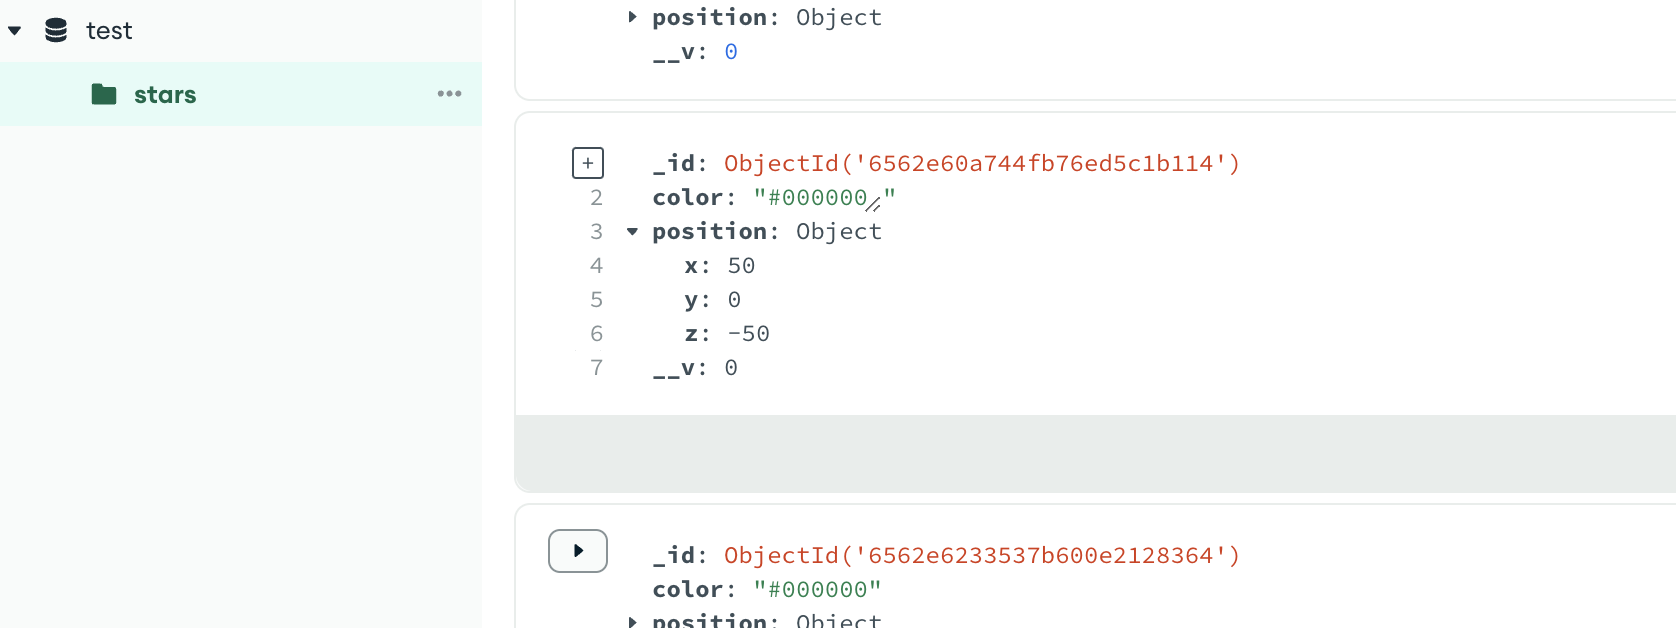
DB를 따로 지정해주지 않으면 test라는 DB를 따로 만들어서 이렇게 들어간다.
MONGO_URI=mongodb://ubuntu:ubuntu@192.168.64.2:27017/b1g1

기존 uri에 database를 명시해서 넣으려고 했는데, 에러가 나더라.
MONGO_URI=mongodb://ubuntu:ubuntu@192.168.64.2:27017
MONGO_DBNAME=b1g1
요렇게 하고 config 파일에 dbName 속성을 넣는 것으로 해결
import { configDotenv } from 'dotenv';
configDotenv();

const mongooseConfig = {
	uri: process.env.MONGO_URI,
	dbName: process.env.MONGO_DB_NAME,
};

export { mongooseConfig };
// app.module.ts
@Module({
imports: [
AuthModule,
BoardModule,
TypeOrmModule.forRoot(typeOrmConfig),
MongooseModule.forRoot(mongooseConfig.uri, {
dbName: mongooseConfig.dbName,
}),
],
controllers: [AppController],
providers: [AppService],
})
export class AppModule {}
에러없이 잘 연결됨 근데 database가 그래도 적용이 안되더라.
그래서 학습메모 11을 참고해서 쿼리 파라미터로 authSource를 admin으로 지정
MONGO_URI=mongodb://ubuntu:ubuntu@192.168.64.2:27017/b1g1?authSource=admin
config와 app.module.ts는 이전에 하던 대로 Uri만 입력하도록 다시 롤백.
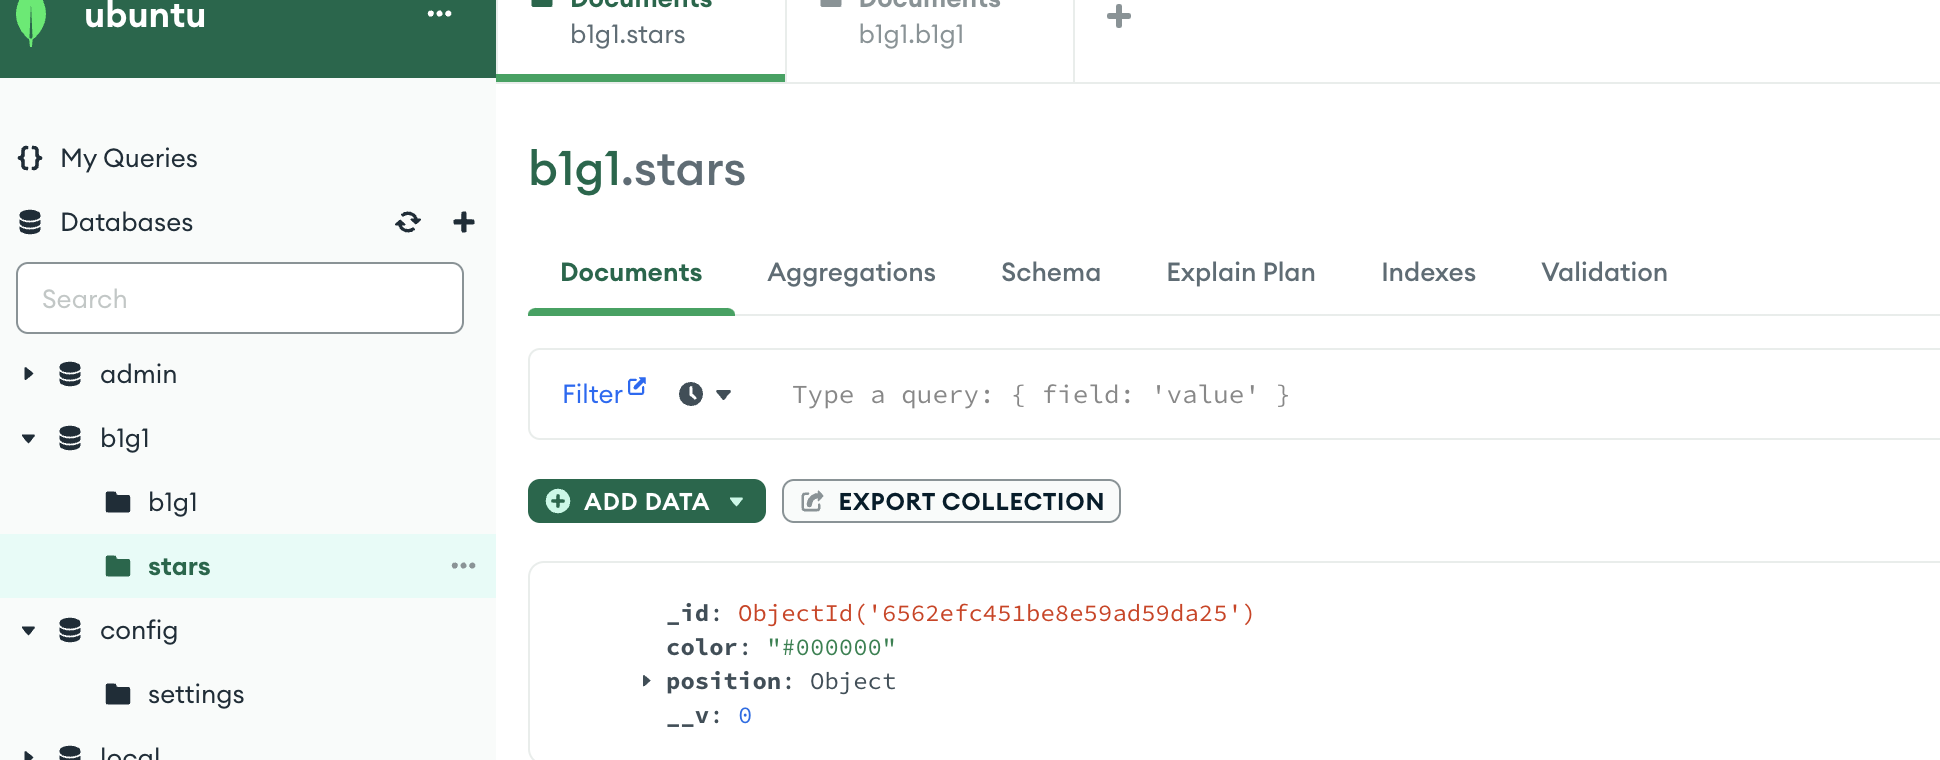
드디어 된다. 유저를 등록한 admin이 아닌 다른 db에 접근할 때는 꼭 파라미터로 authSource를 admin으로 지정해줘야 한다! 메모메모!
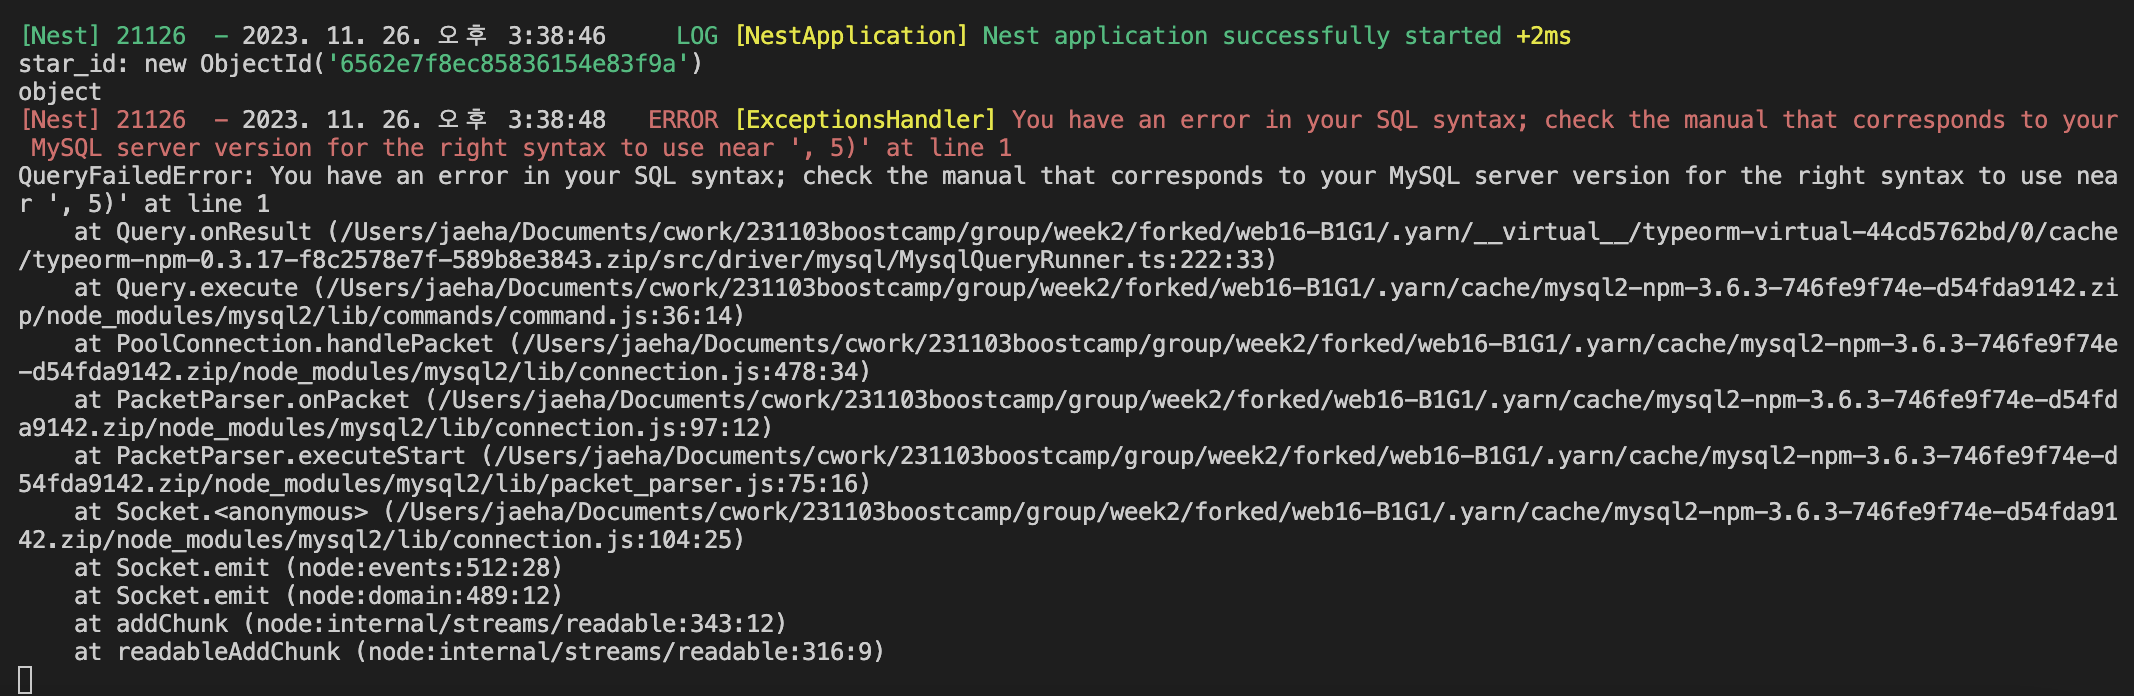
확인해보니 mongoDB의 _id는 string이 아니라 ObjectId라는 객체로 관리된다.
// 별 스타일이 존재하면 MongoDB에 저장
let star_id;
if (star) {
	const starDoc = new this.starModel({
		...JSON.parse(star),
	});
	await starDoc.save();
	star_id = starDoc._id.toString();
	console.log('star_id:', star_id);
	console.log(typeof starDoc._id, typeof star_id);
}

const board = this.boardRepository.create({
	title,
	content: encryptAes(content), // AES 암호화하여 저장
	user,
	images,
	star: star_id,
});
요렇게 toString()으로 string 타입으로 바꿔주면 에러없이 잘 들어간다.

async findAllBoardsByAuthor(author: string): Promise<Board[]> {
		const boards = await this.boardRepository.findBy({
			user: { nickname: author },
		});

		for (let board of boards) {
			board.content = undefined; // content 제거하여 반환
			board.user.password = undefined; // user.password 제거하여 반환
			board.user.created_at = undefined; // user.created_at 제거하여 반환
			board.likes = undefined; // likes 제거하여 반환
			board.images = undefined; // images 제거하여 반환

			// star 스타일이 존재하면 MongoDB에서 조회하여 반환
			if (board.star) {
				const star = await this.starModel.findById(board.star);
				if (star) {
					board.star = JSON.stringify(star);
				} else {
					board.star = null;
				}
			} else {
				board.star = undefined;
			}
		}

		return boards;
	}
필요 없는 정보는 빼고 전송하도록 코드 개선도 조금 했다.
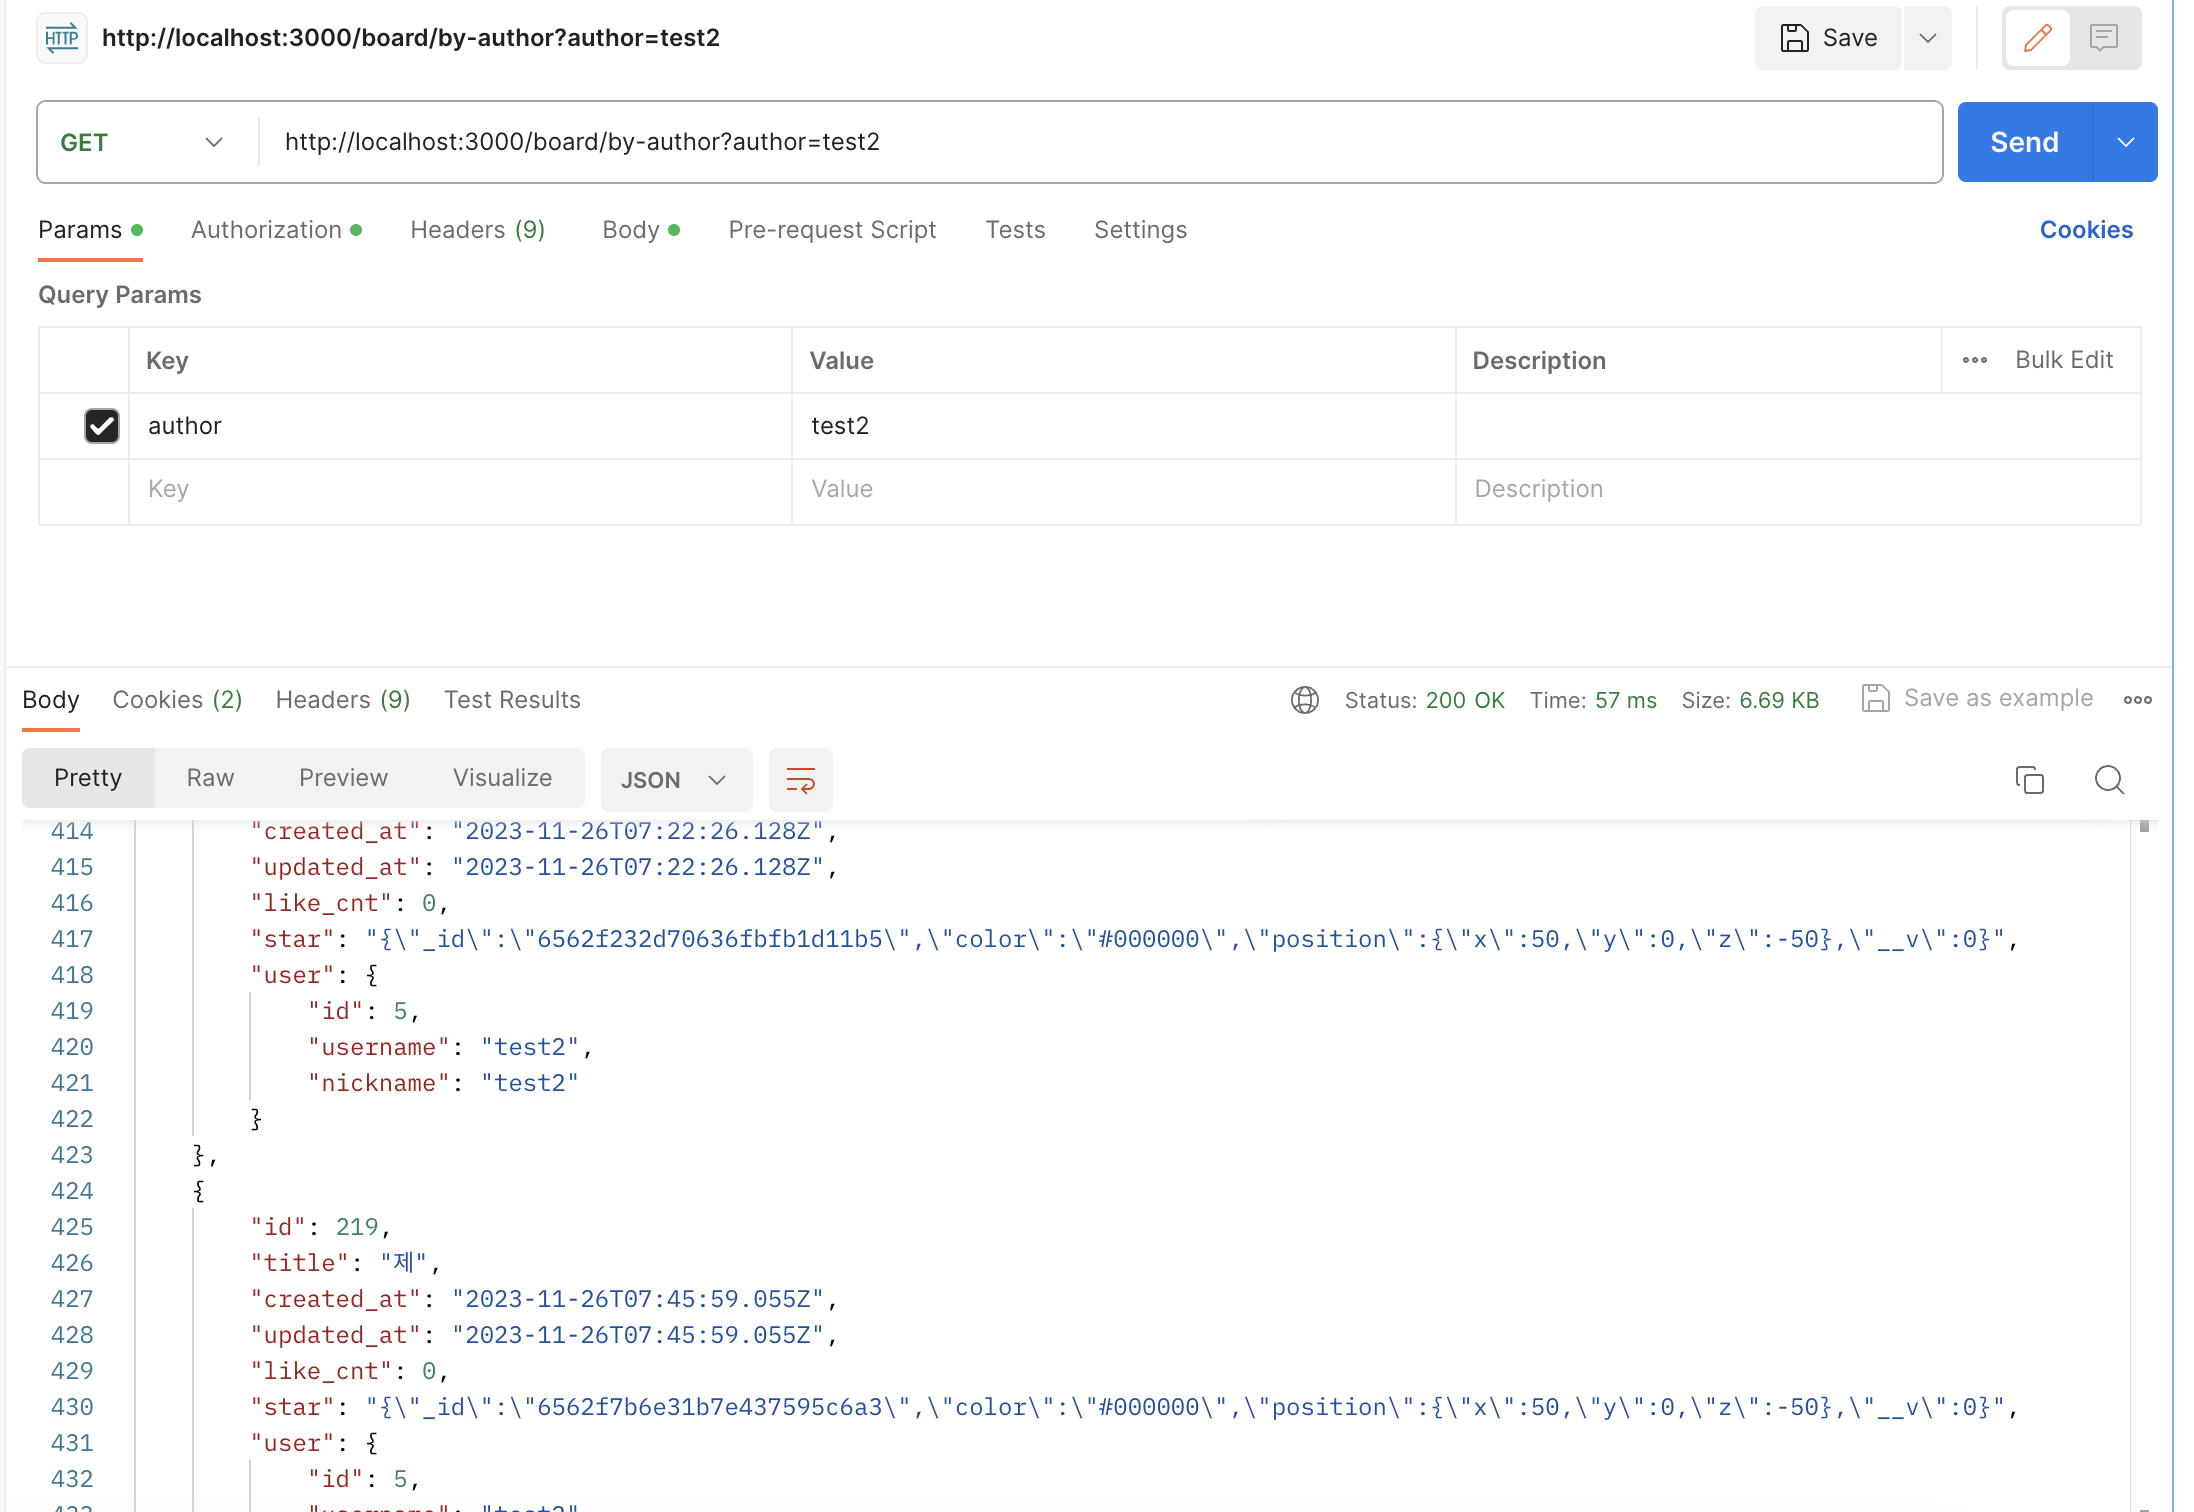
잘됨
private 인스턴스인데, mongodb는 ncloud 내부 repository에도 없어서 결국 미루고 미루던 NAT Gateway 설정을 진행했다.

NAT Gateway용 Subnet 생성
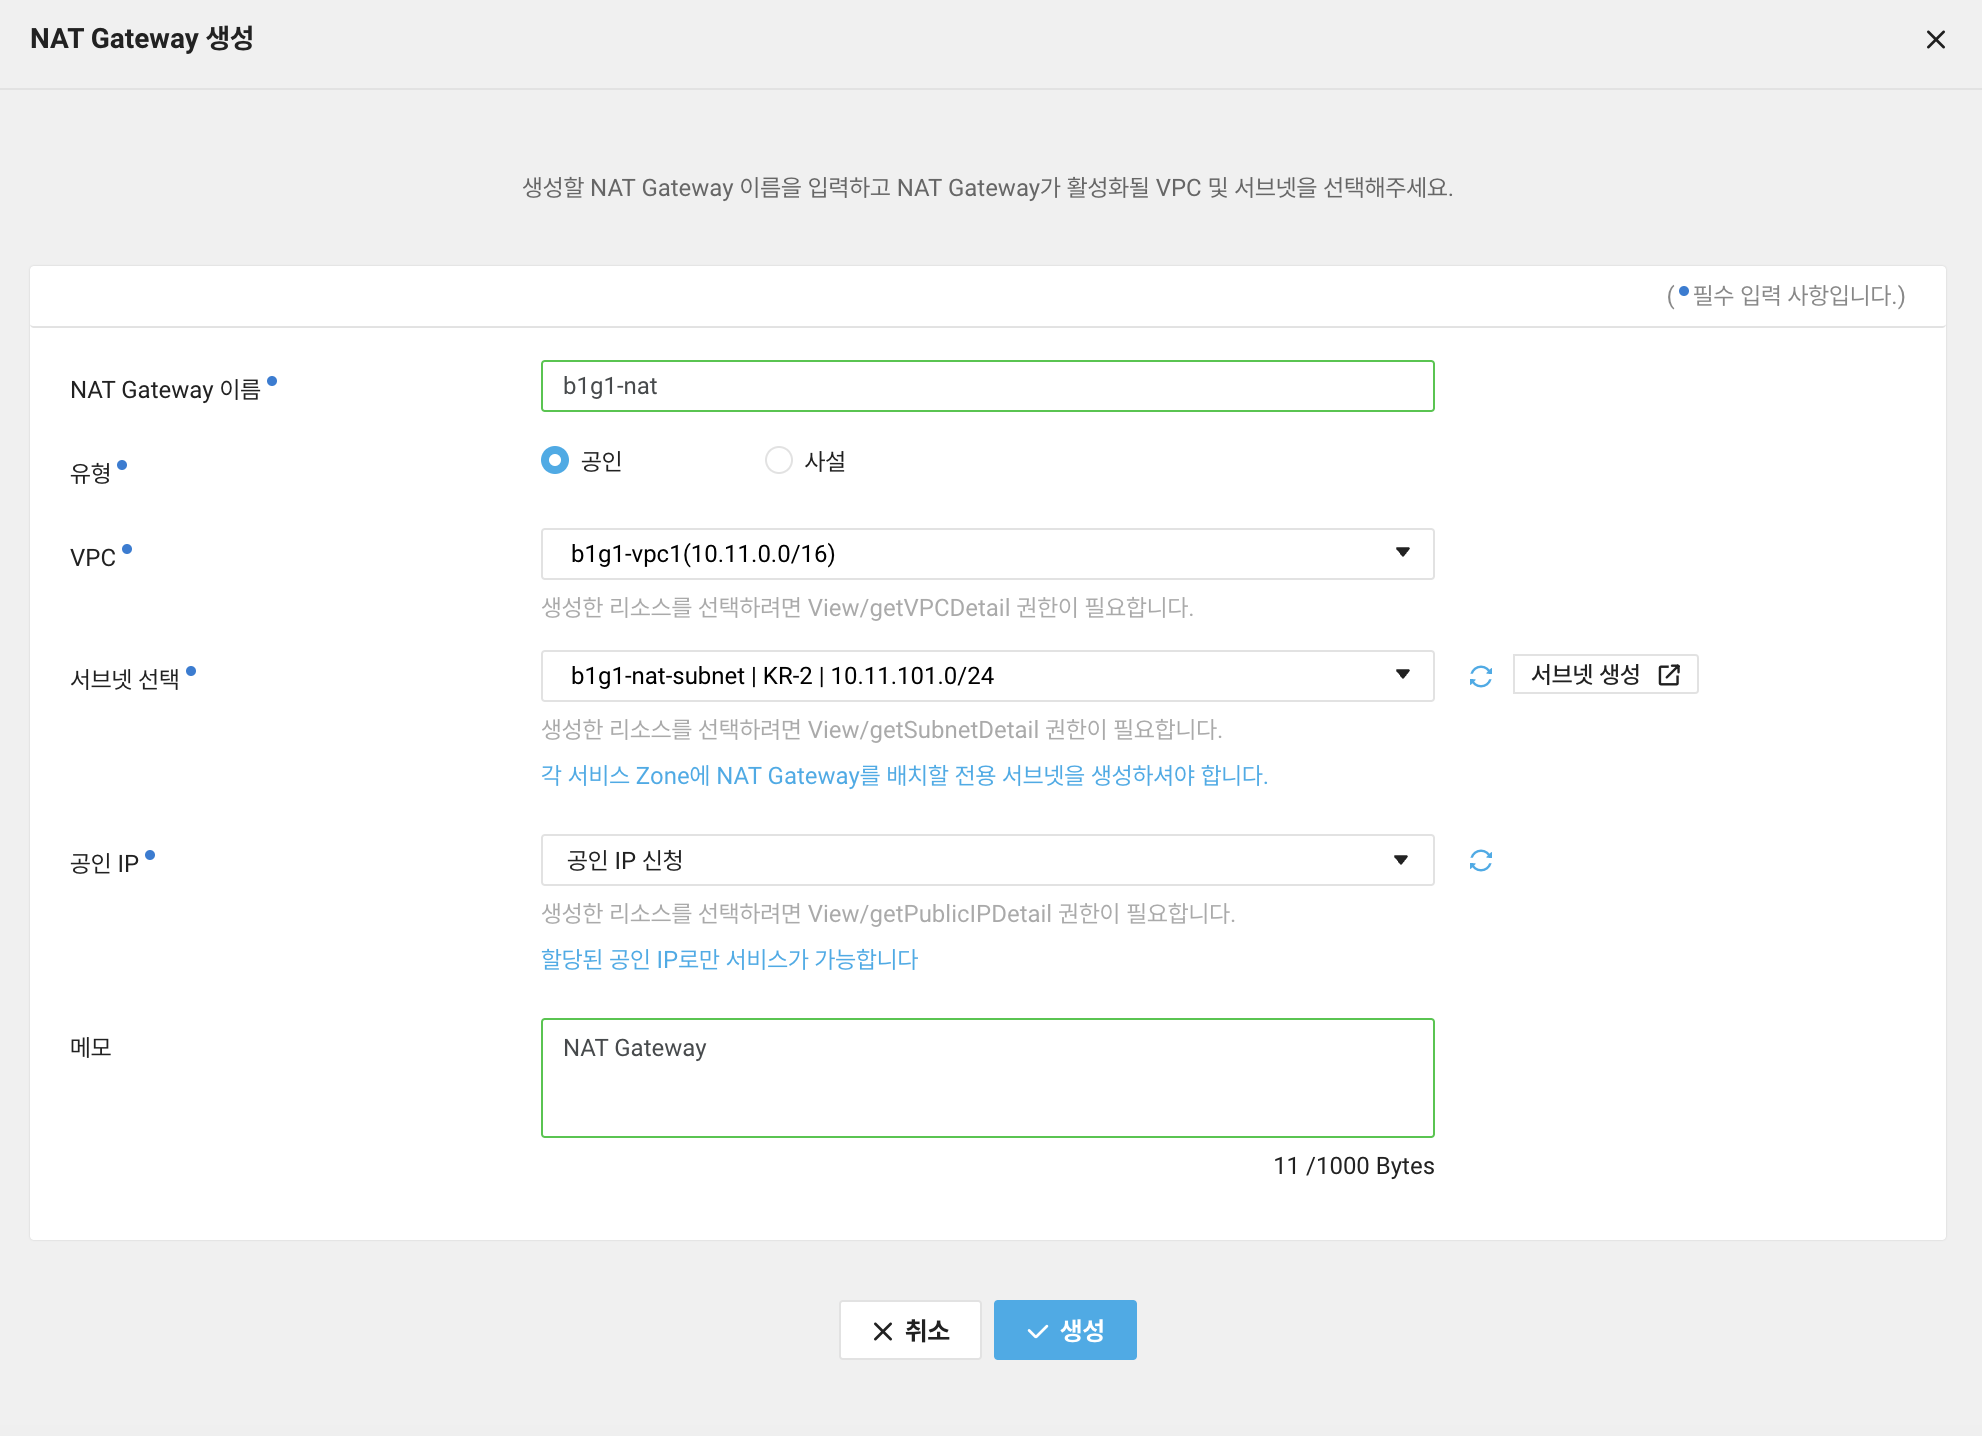
NAT Gateway 생성

NAT Subnet도 Public Route Table 규칙을 적용받고 있다.
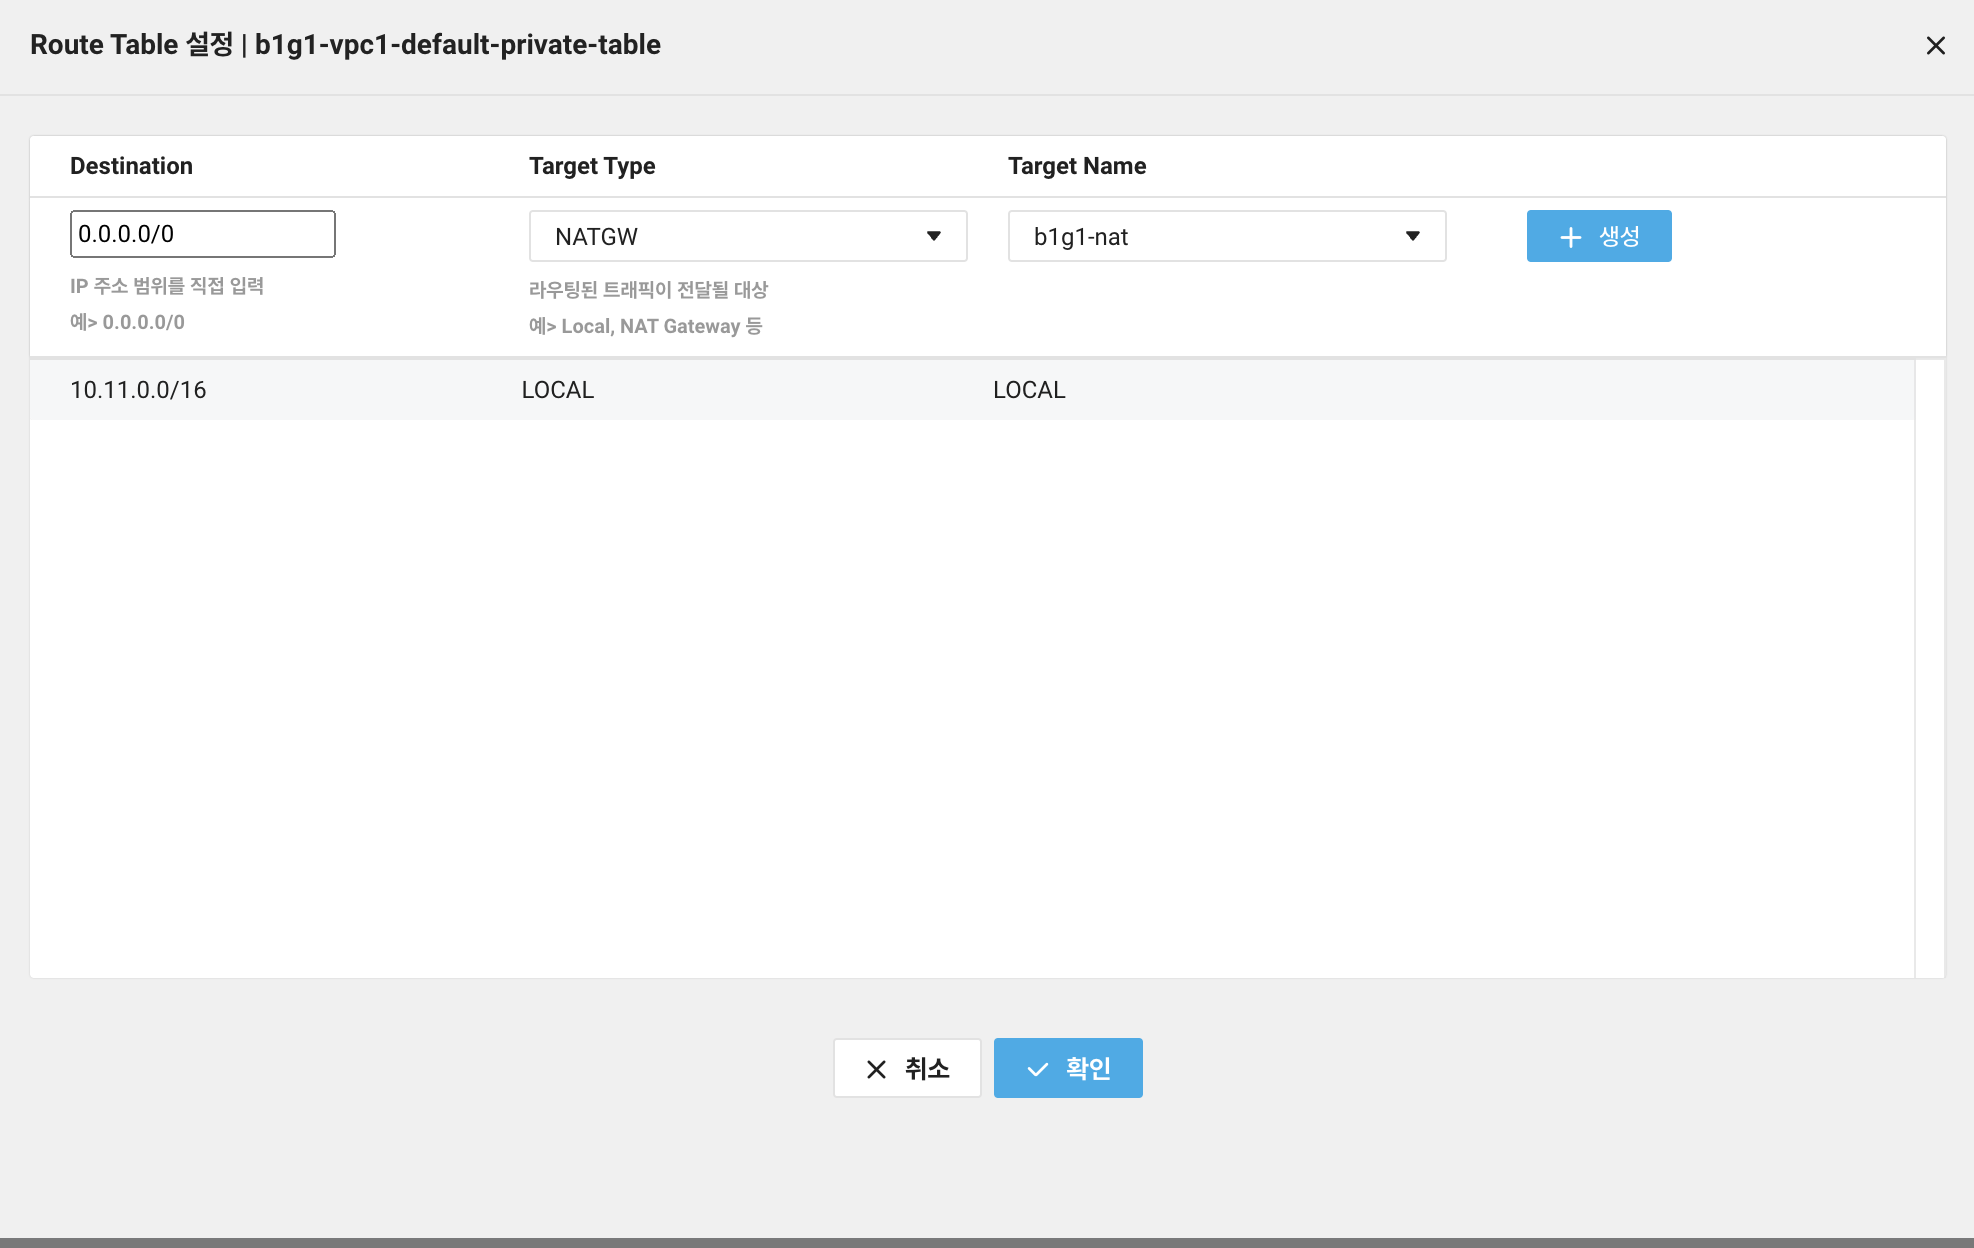
private Route Table에는 0.0.0.0/0을 NAT Gateway로 포워딩해주는 라우트 경로를 작성해준다. 이것이 핵심!

잘 적용됐고, 이제 중간중간에 통신을 가로막는 방화벽만 처리해주면 끝이다.
근데 이게 잘 안돼서 참 고생을 했다... 결국 ACG 아웃바운드 설정이 포인트임

priavte인 DB 인스턴스에 적용된 ACG Outbound는 현재 이렇다.

이렇게 나가는 건 모두 허용으로 바꿔줘야 한다. 그러면 이제 NAT가 알아서 외부로 전송해줌.
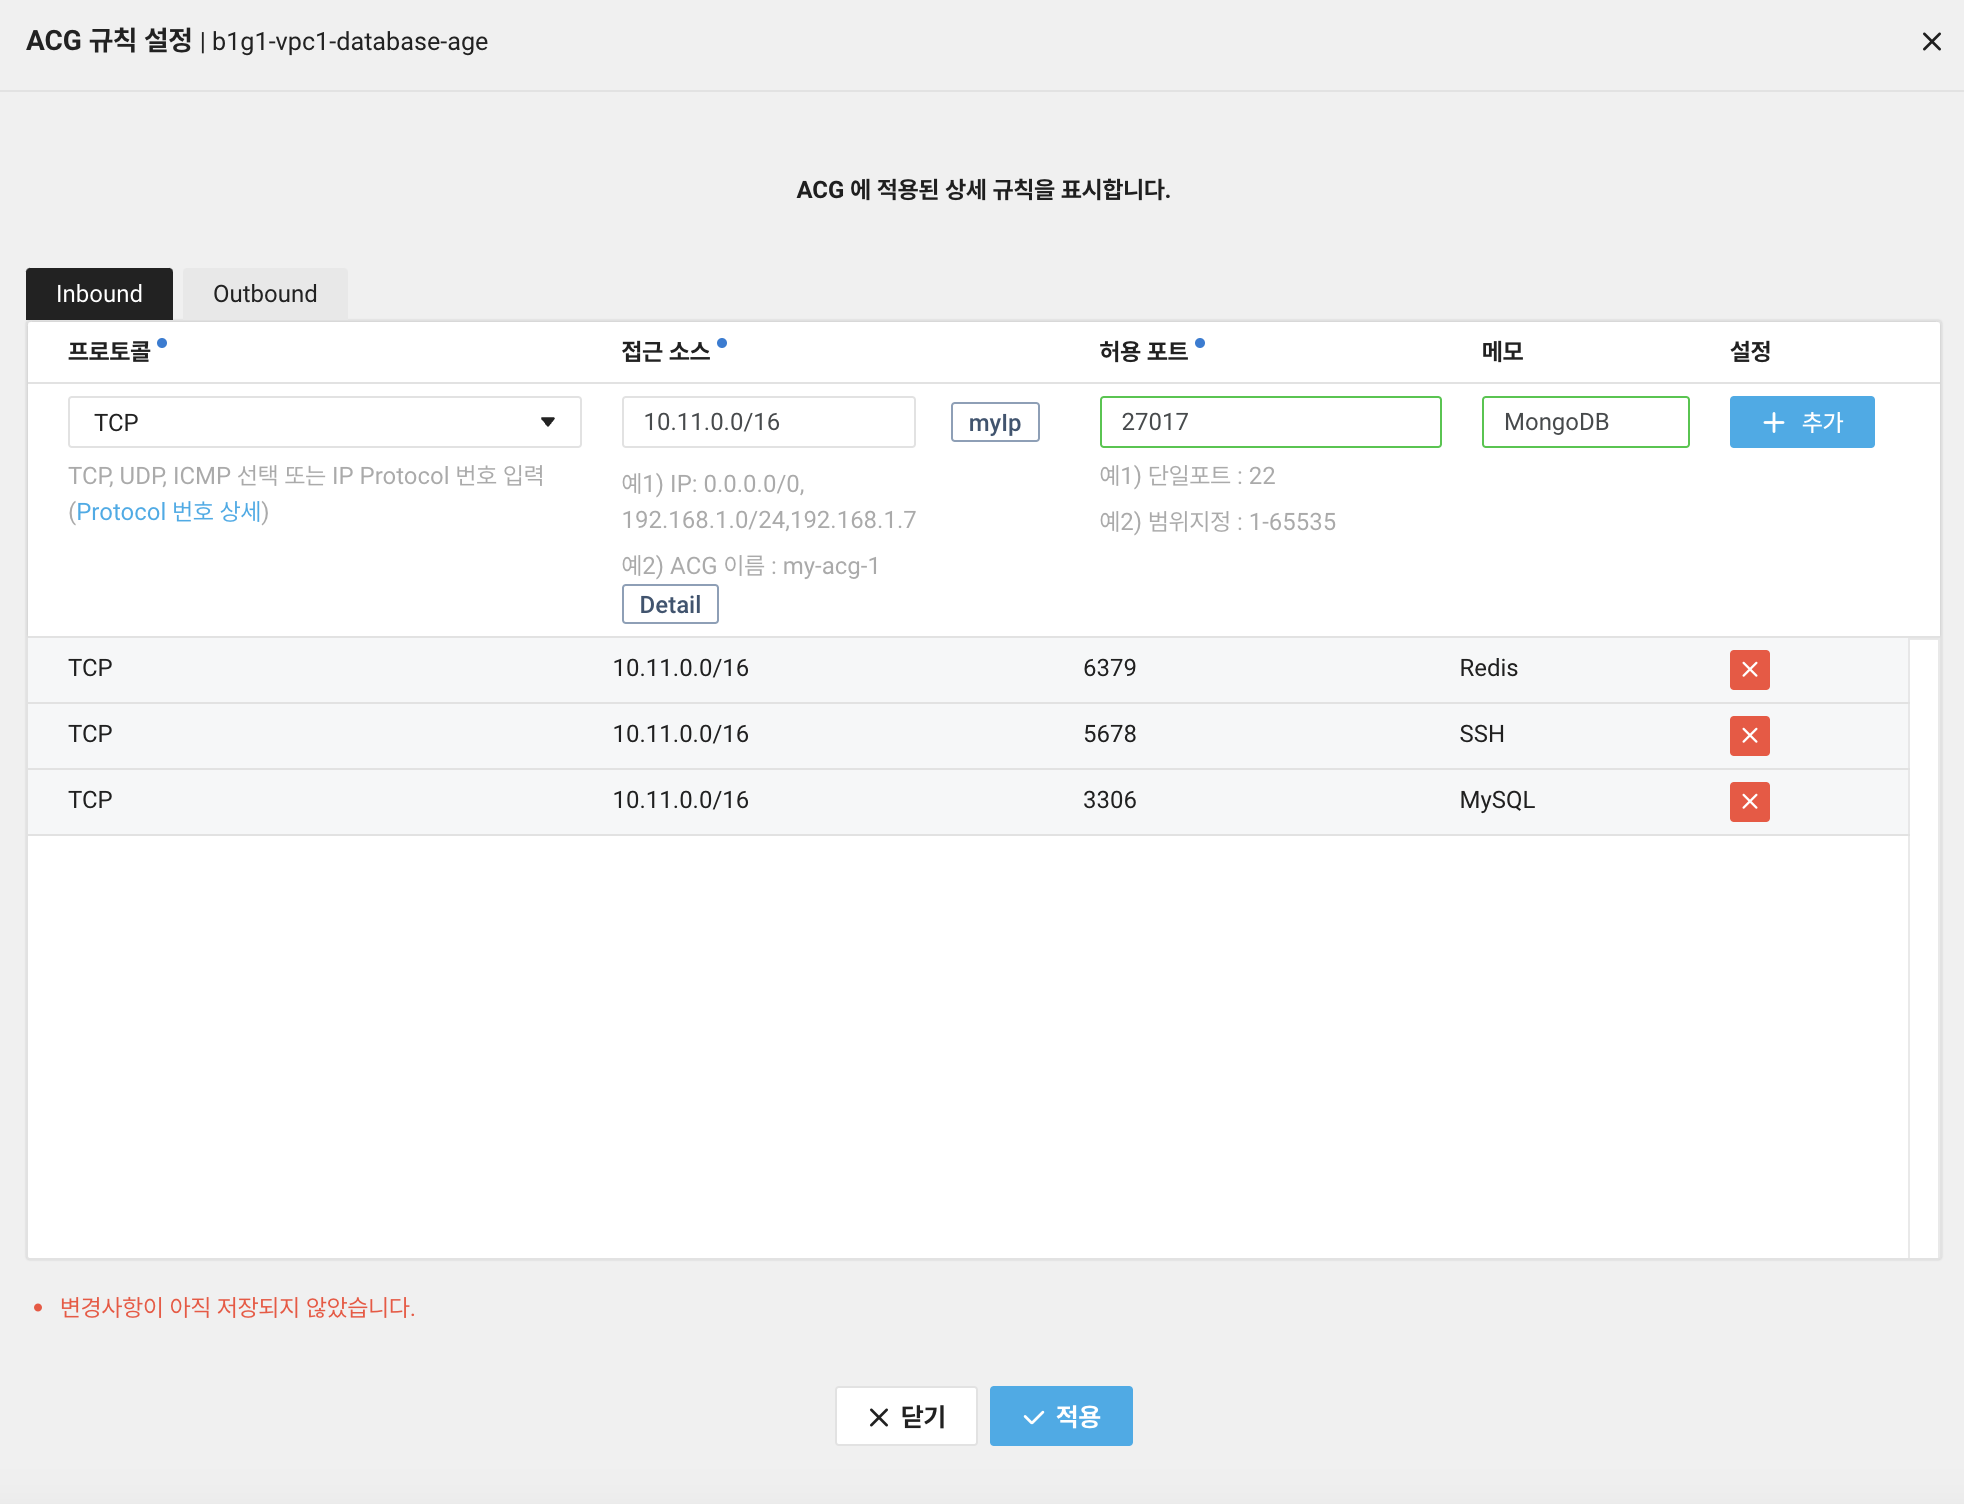
MongoDB를 위해 인바운드는 27017만 추가시켜줌. 0.0.0.0/0에는 암것도 안붙여줘도 된다!
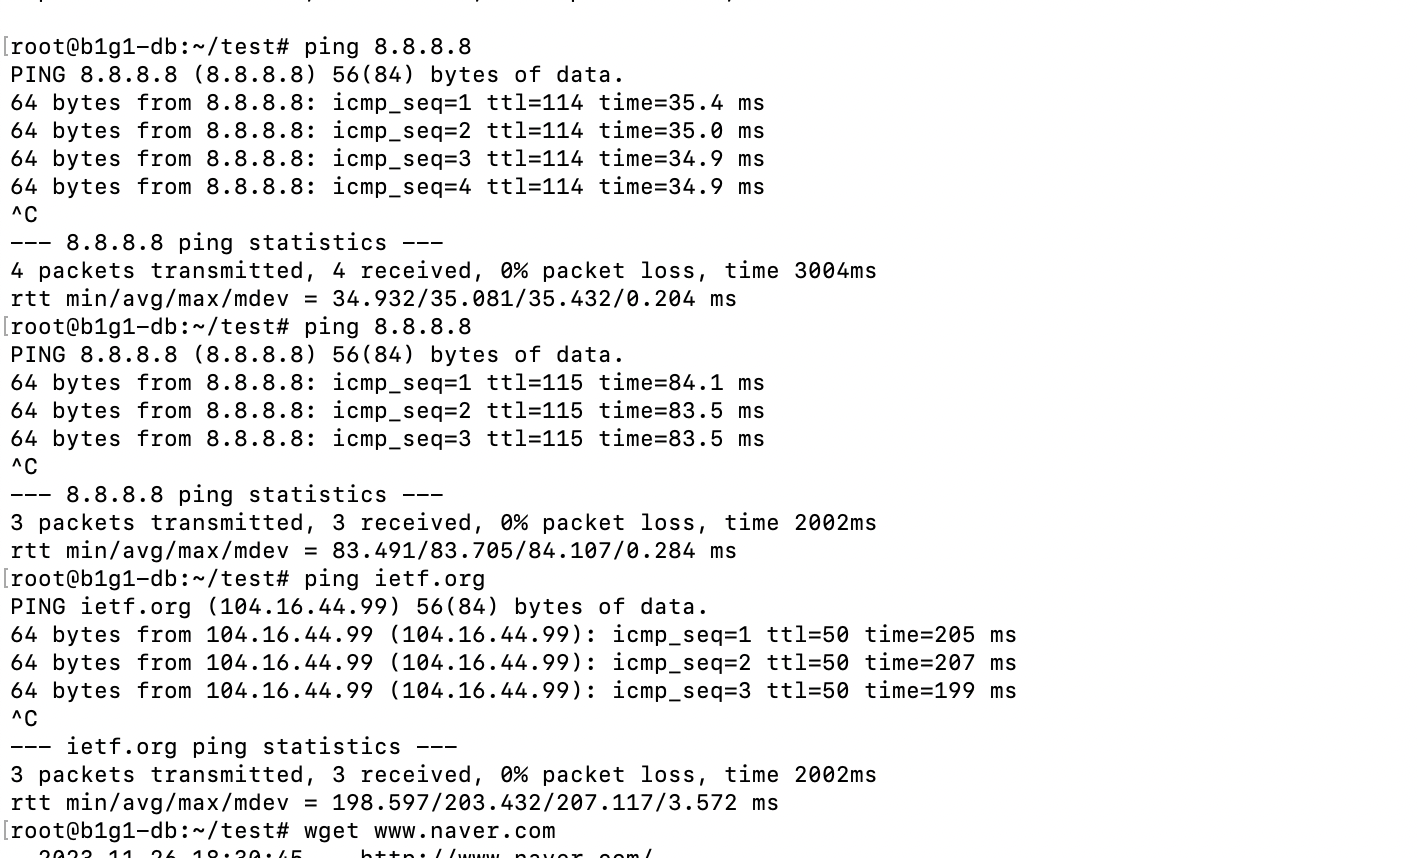
ping테스트 결과. 눈물이 난다. 드디어 성공!!

이제 MongoDB 설치류가 모두 잘 진행된다.
위에서 한 번 했으므로 자세한 과정은 생략.
다시 한 번 강조하자면 MongoDB 설정에서 bind로 public 서버 인스턴스만 허용해준 뒤, ACG 인바운드에서 27017 추가시켜주면 됨.

그리고 배포 환경이 Ubuntu 20.04였는데, 이거 확인안해서 또 삽질을 좀 했다..
그리고 서버 스펙이 구려서 엄~~~청 느리다!
설치 후 id/pw 설정 및 IP binding 설정, 방화벽 설정까지 모두 끝내고 서버 인스턴스에서 접근이 잘 되는지를 테스트해본다.
서버는 설치할 필요가 없으므로 Mongo Shell인 mongosh만 설치해야 하는데..

찾아보니 요거인듯
sudo apt install -y mongodb-mongosh깔끔하게 클라이언트만 설치하는 멋진 사람!
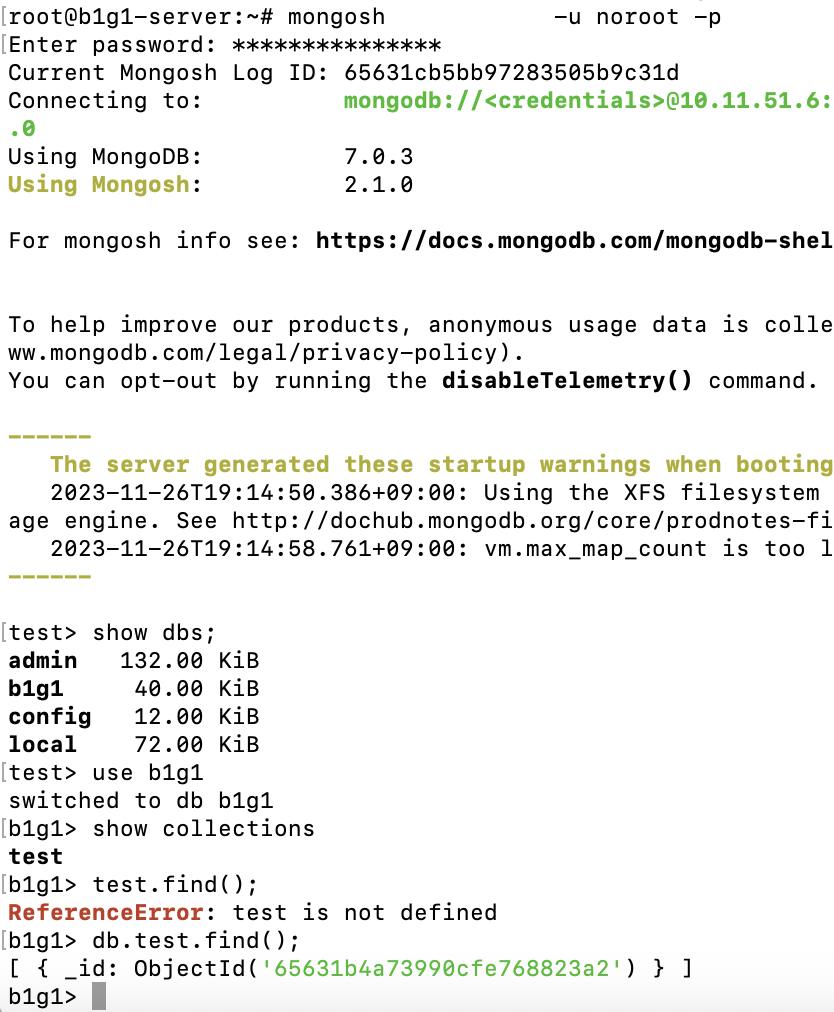
아주 잘 된다 야호!